How To Survive & Thrive At Your First Craft Fair - Part 2
- by Carole Heaton
- •
- 27 Apr, 2017
- •
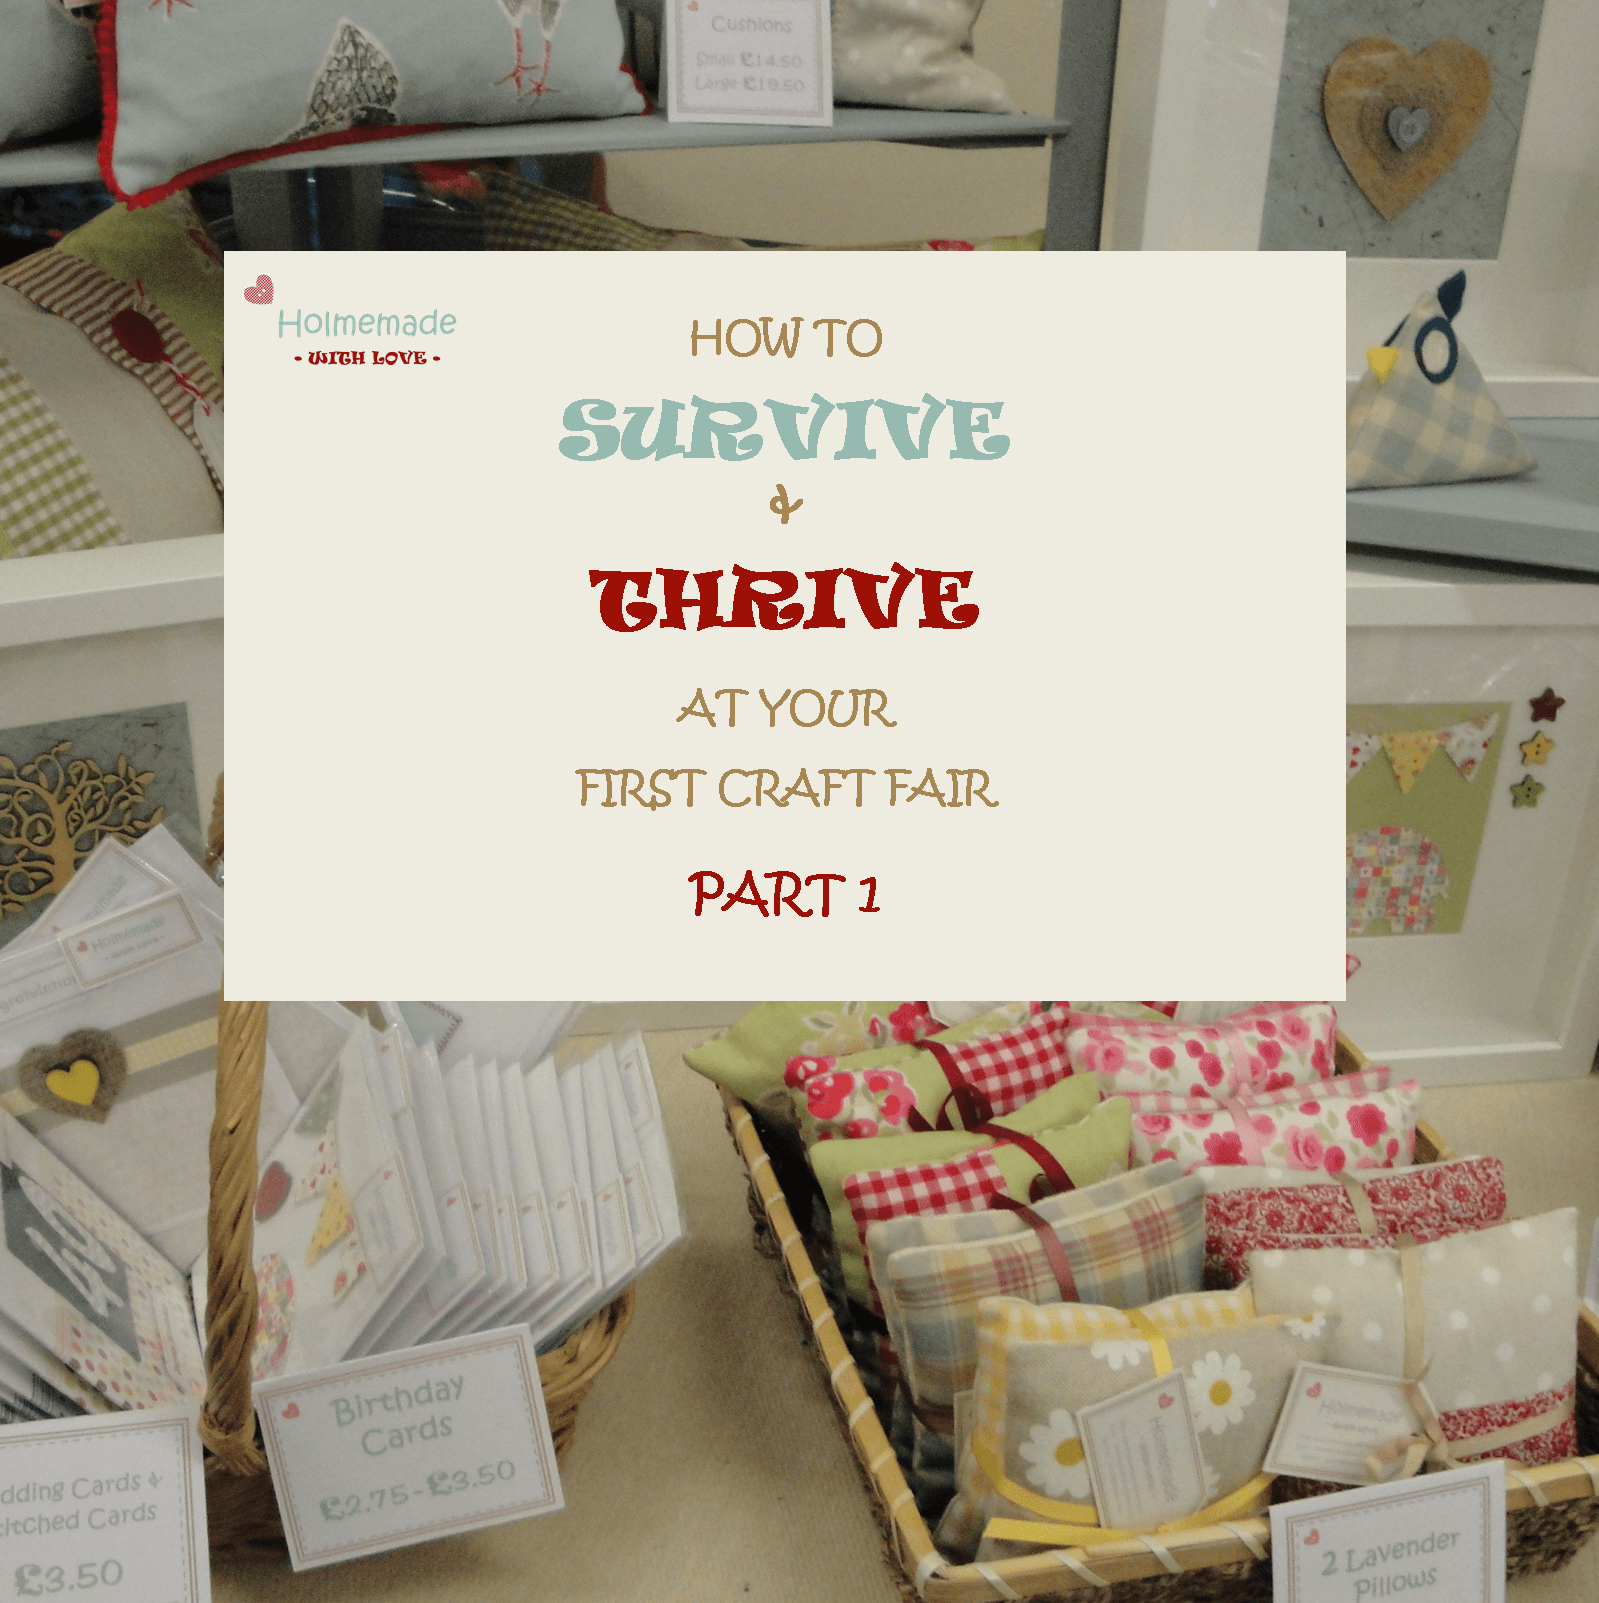
In Part 1 of my blog post I focused on how to SURVIVE your first Craft Fair...... in Part 2 I'm sharing more great tips that will help you THRIVE, hopefully have a fabulous day and make you want to do it all again!
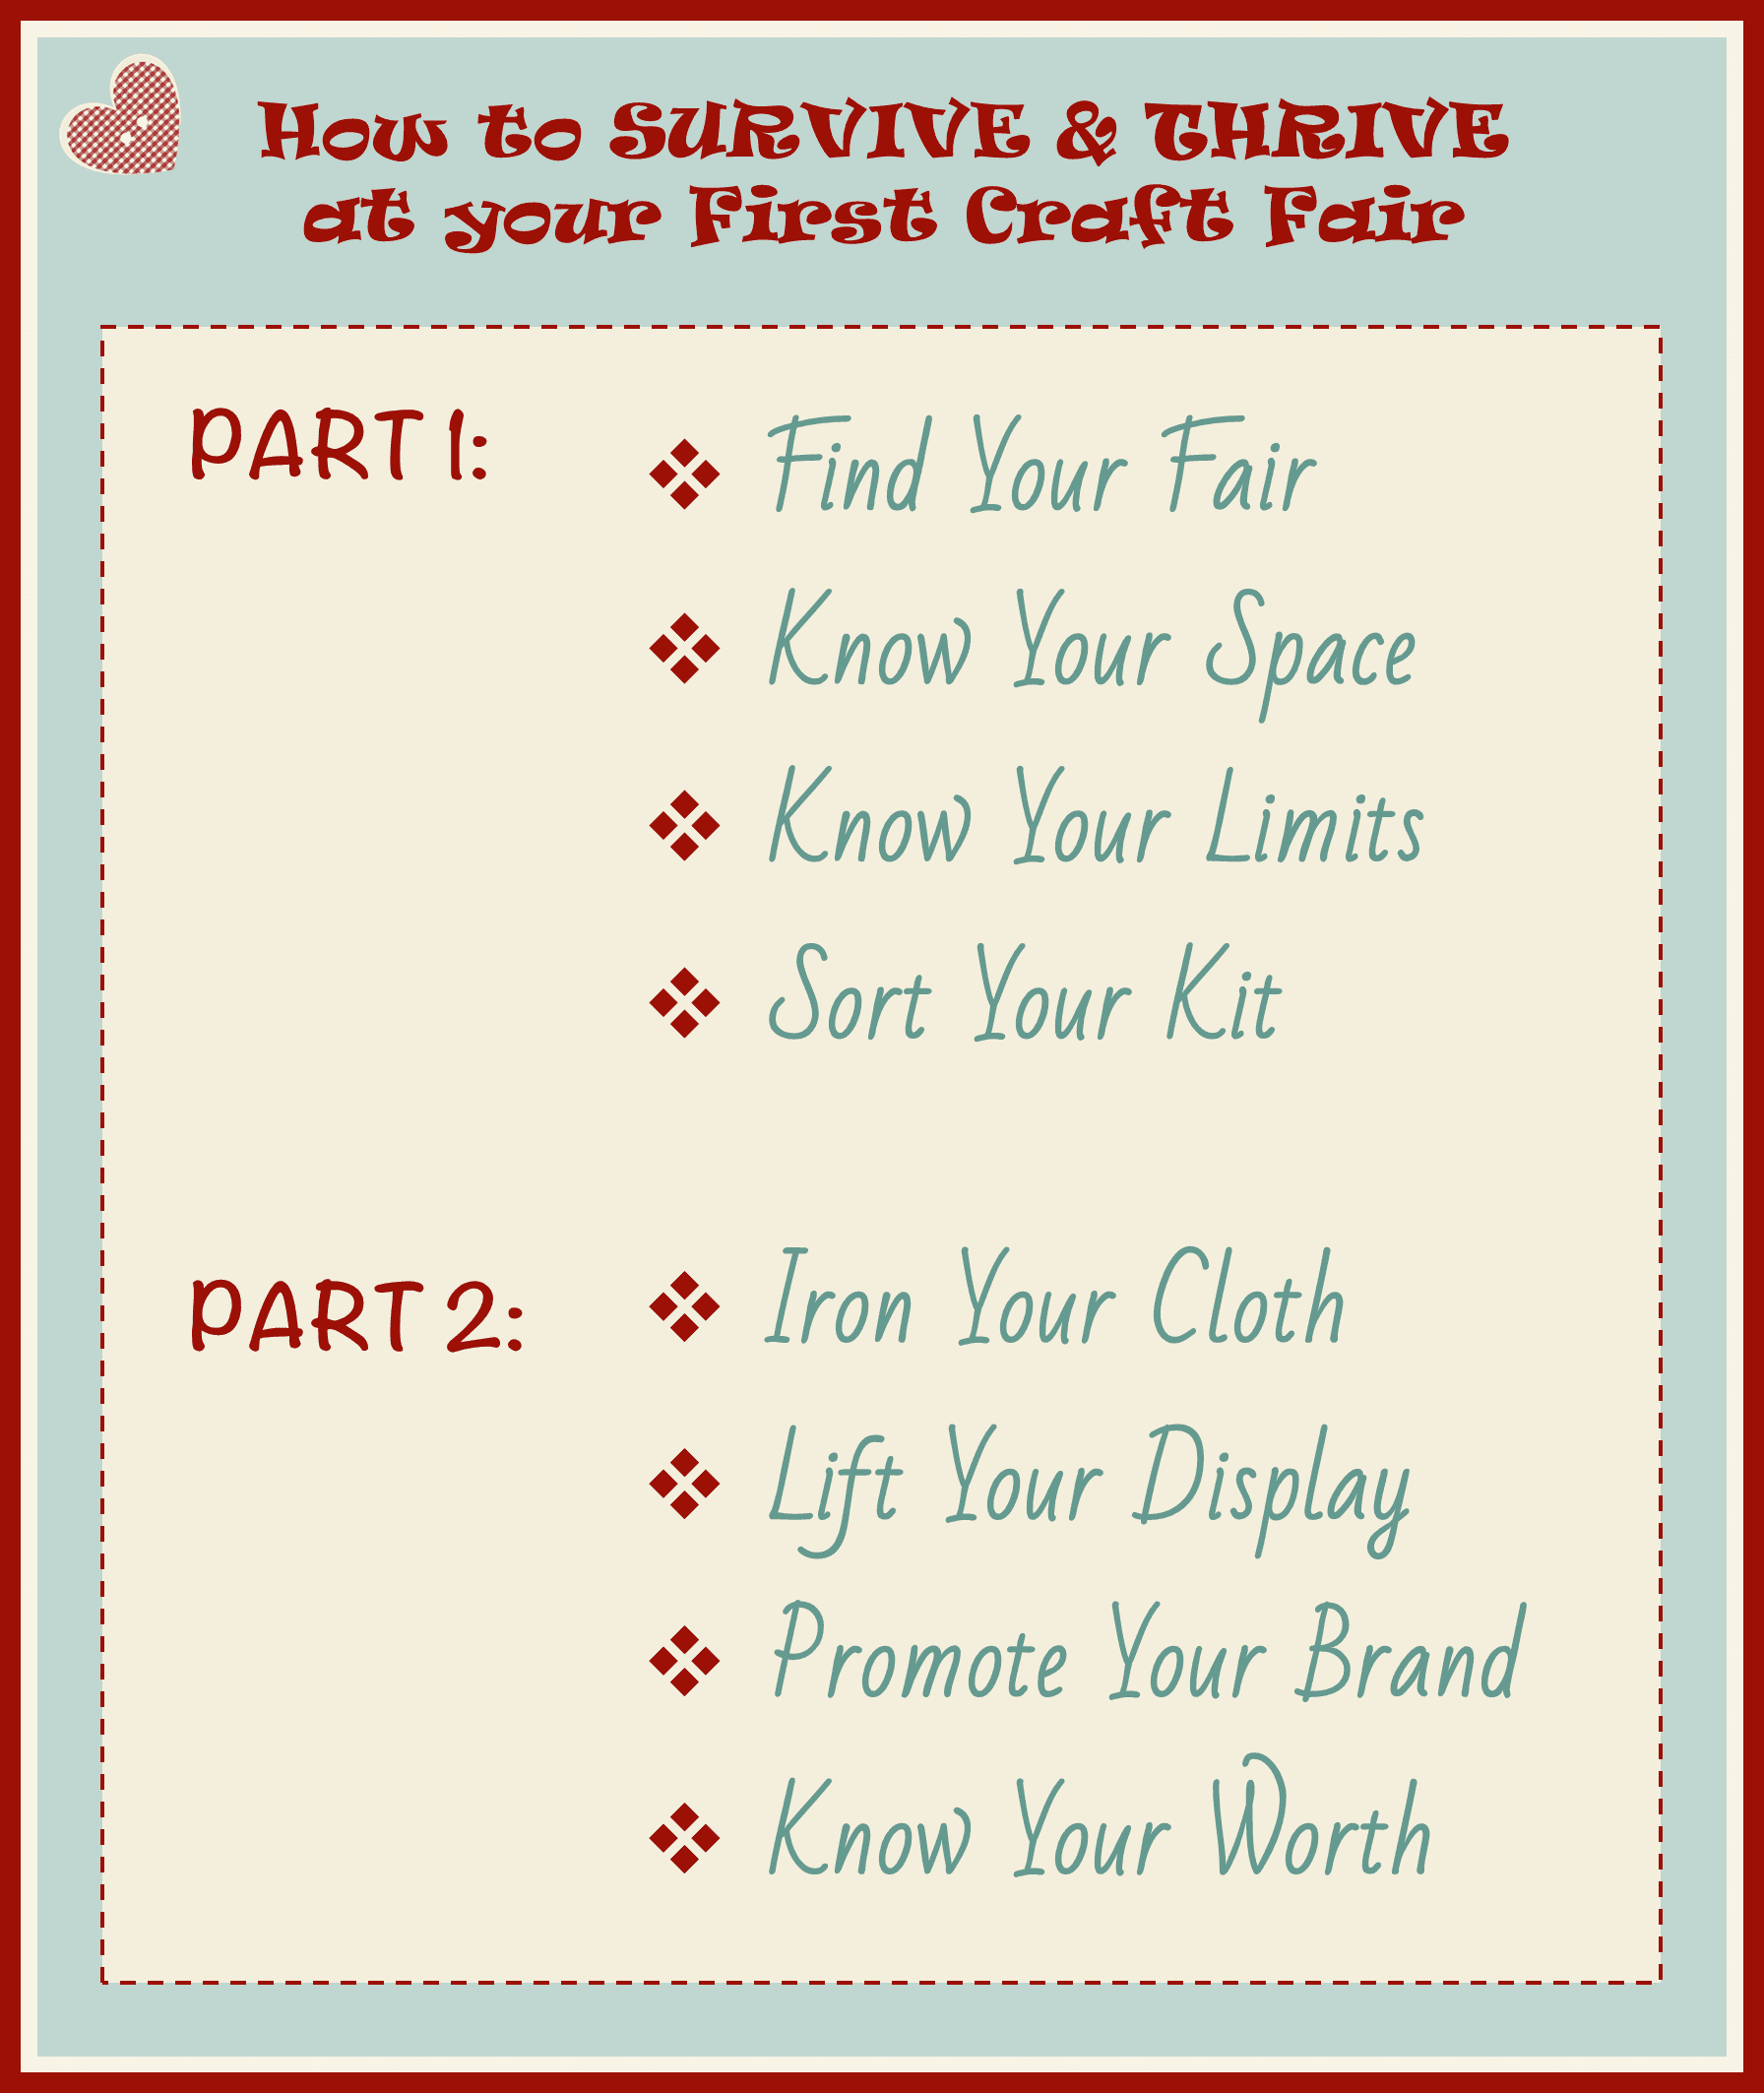
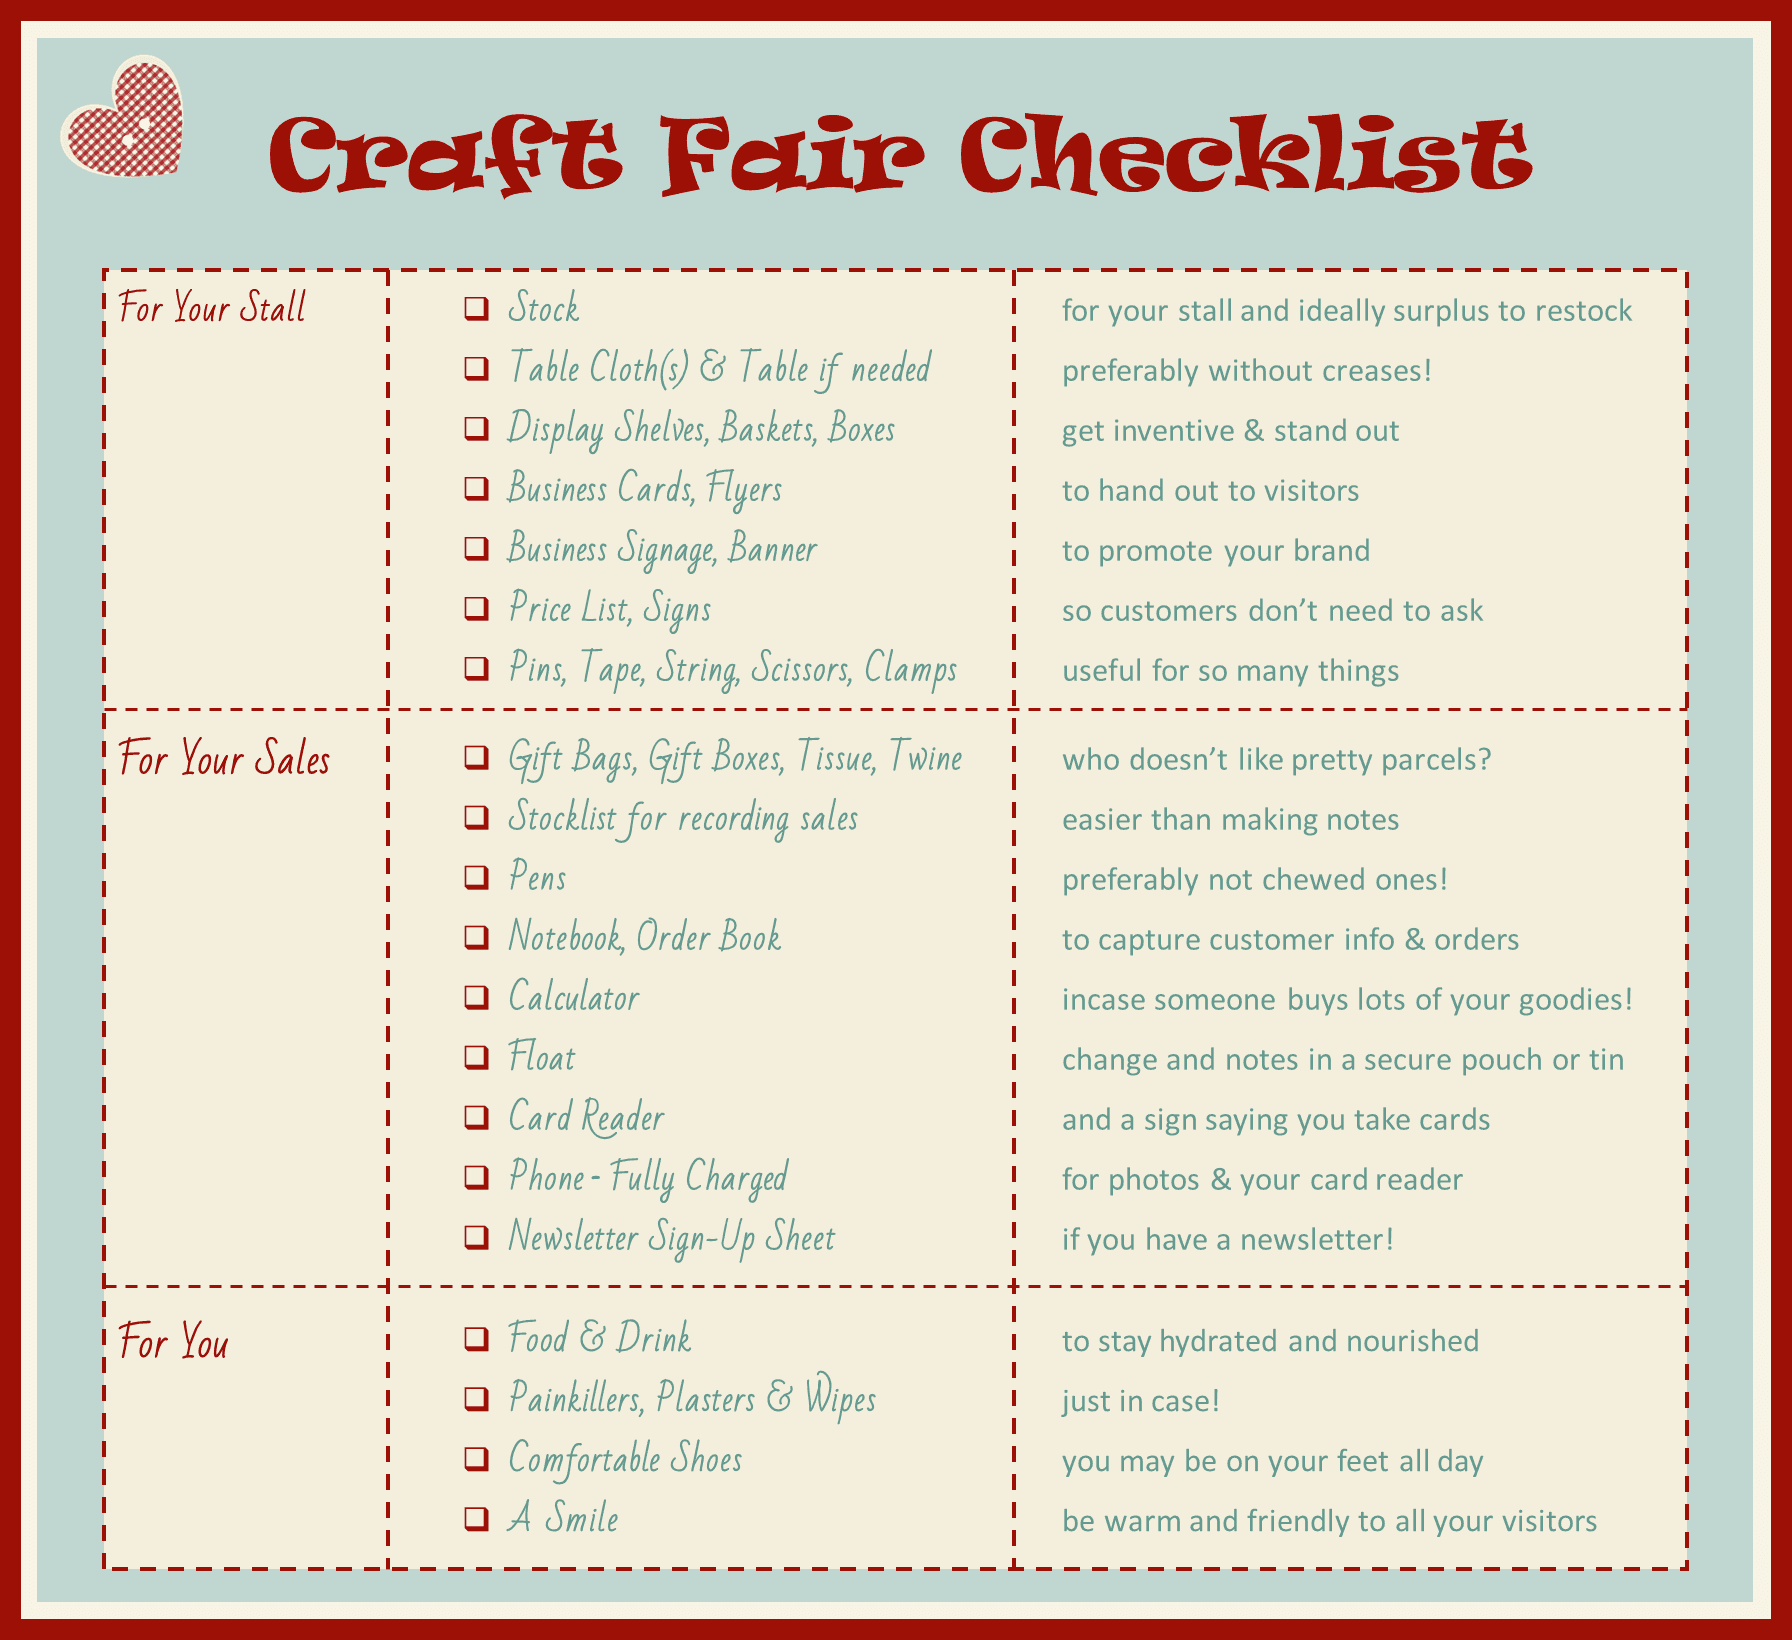
Part 2 - How to Thrive at Your First Craft Fair
Iron Your Cloth
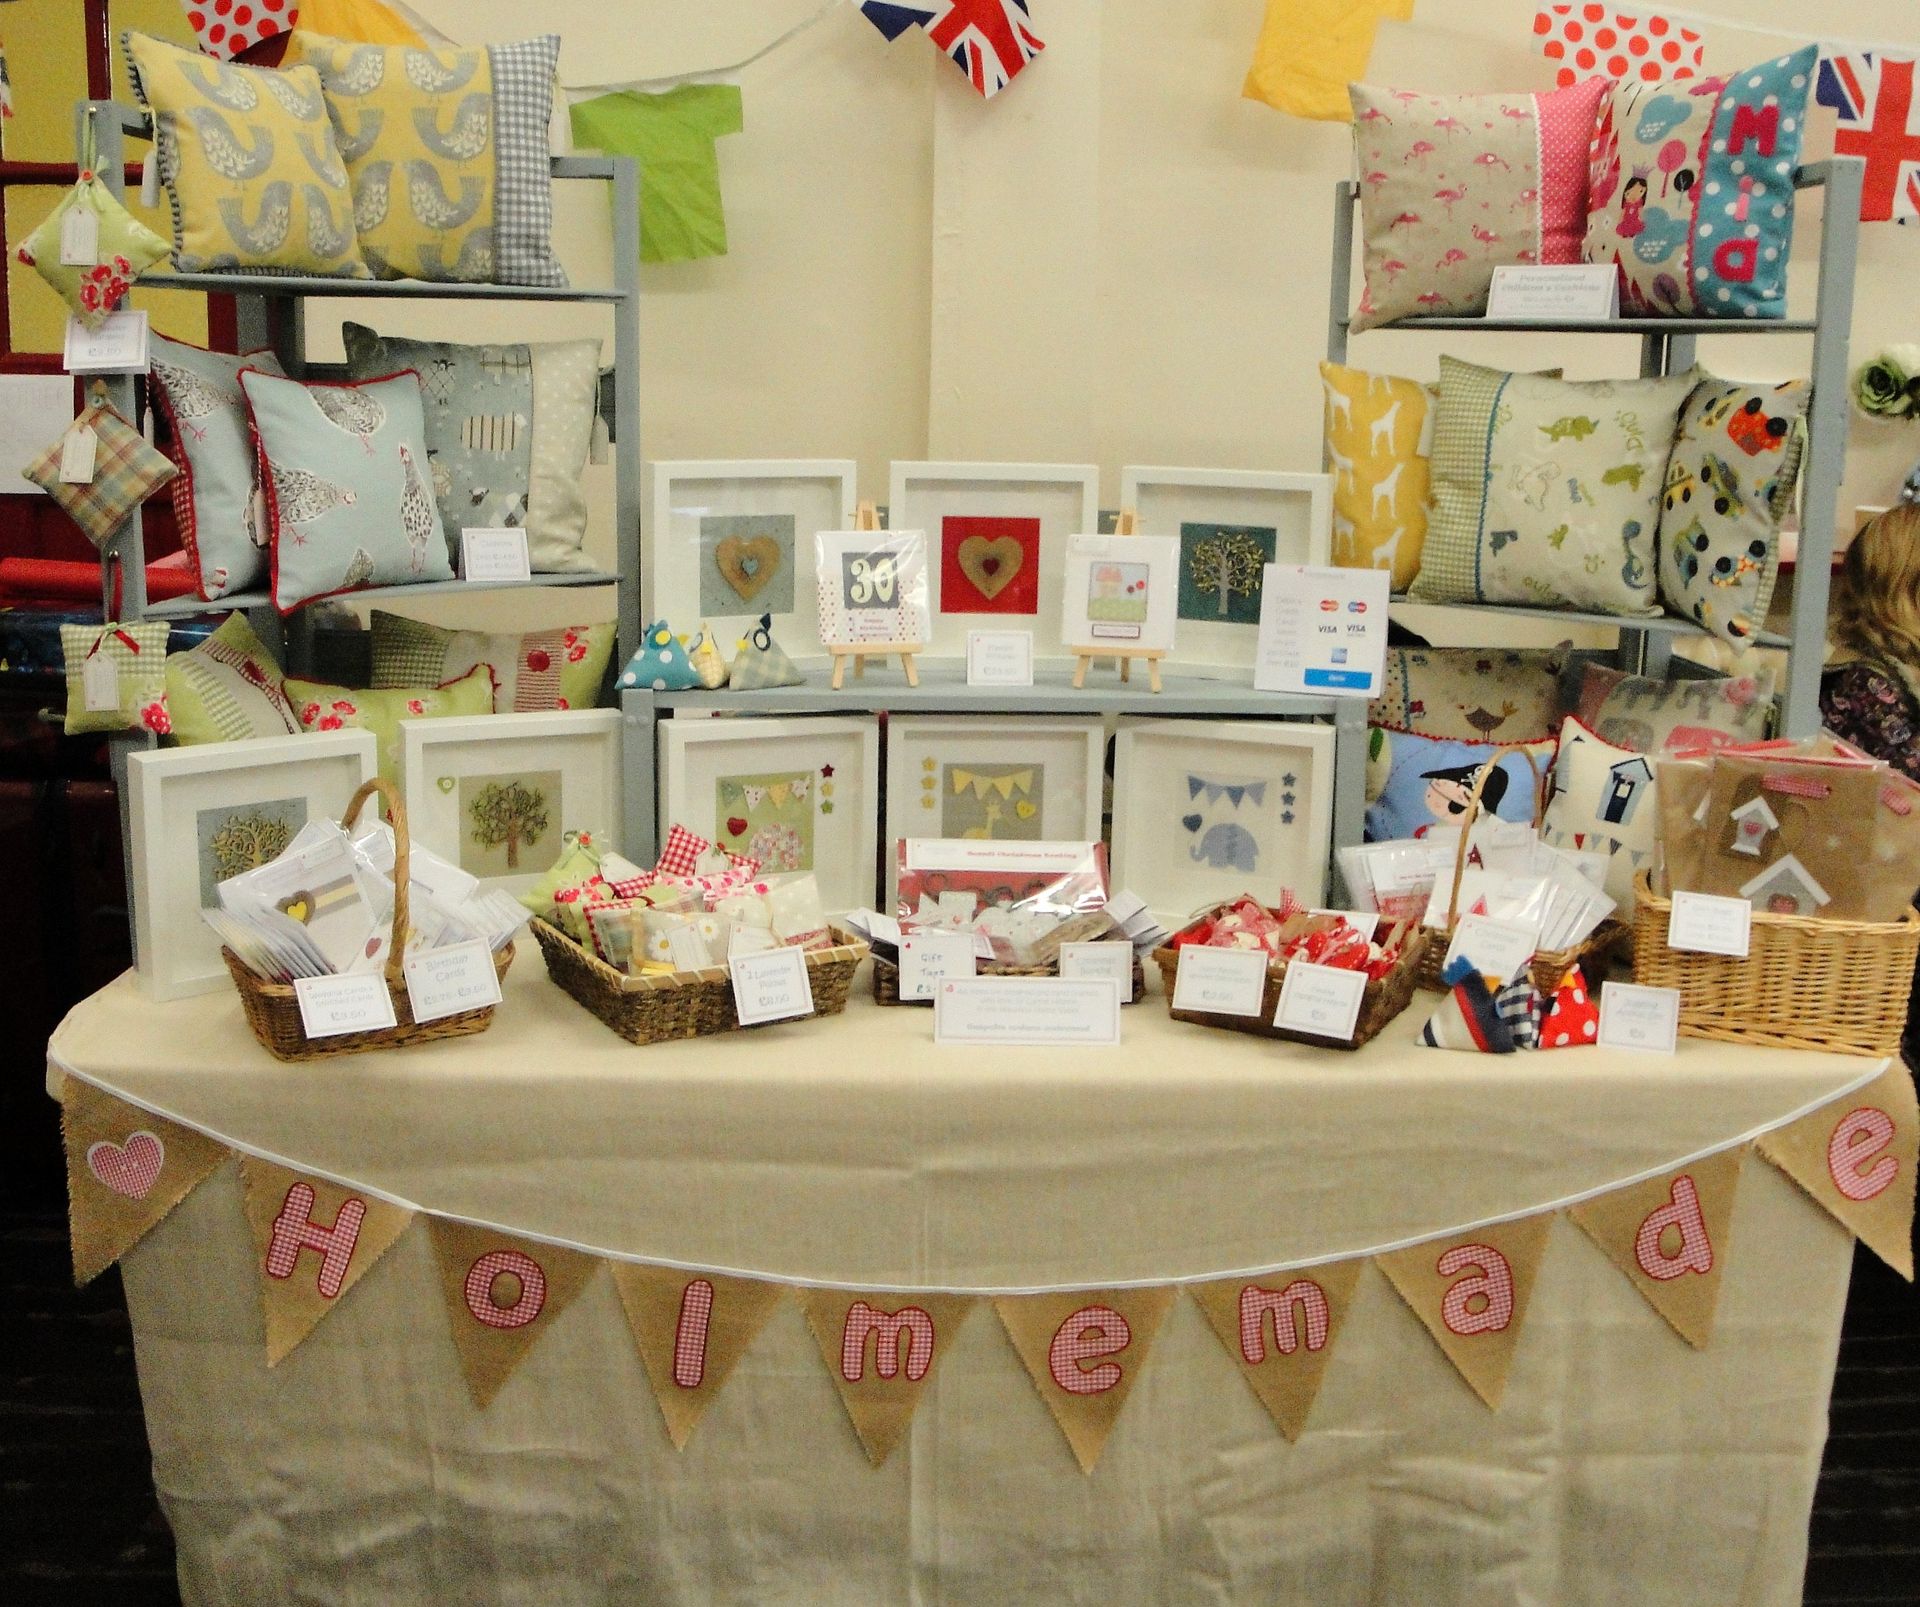
If you don't have a posh table covering with boxed corners (and let's face it not many of us do), take a supply of pins with you - you don’t want the cloth to drag on the floor and create a trip hazard but you do want it to reach the floor and hide your empty boxes and spare stock that are stashed under the table! Pins are great for holding the cloth in place and for creating those professional corners with your cloth.
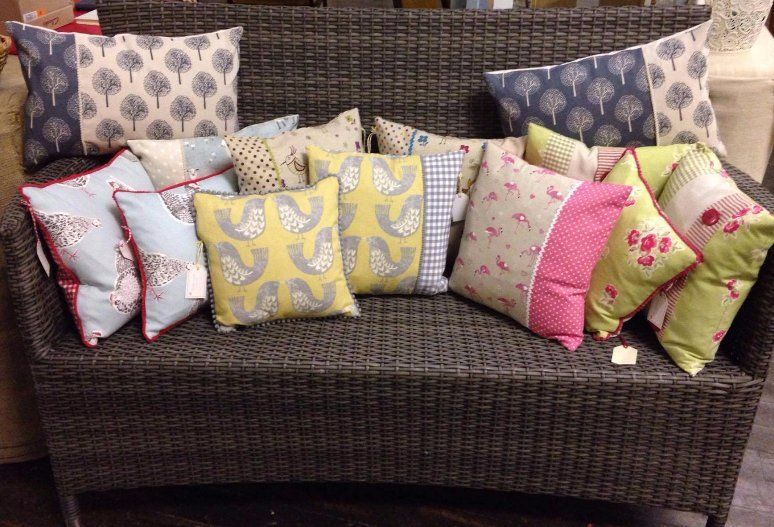
When thinking about your table covering choose a colour that makes your creations pop, and matches your brand. Silver jewellery can look fabulous on black, but it would be far too harsh for my soft pastel textiles for example. My creations work far better with a neutral background.
Fair organisers may require you to have a cloth that completely covers your table and reaches the floor. I know I insist on it for my fair because it looks so much more professional. Some also insist on a certain colour scheme - so do check in advance.
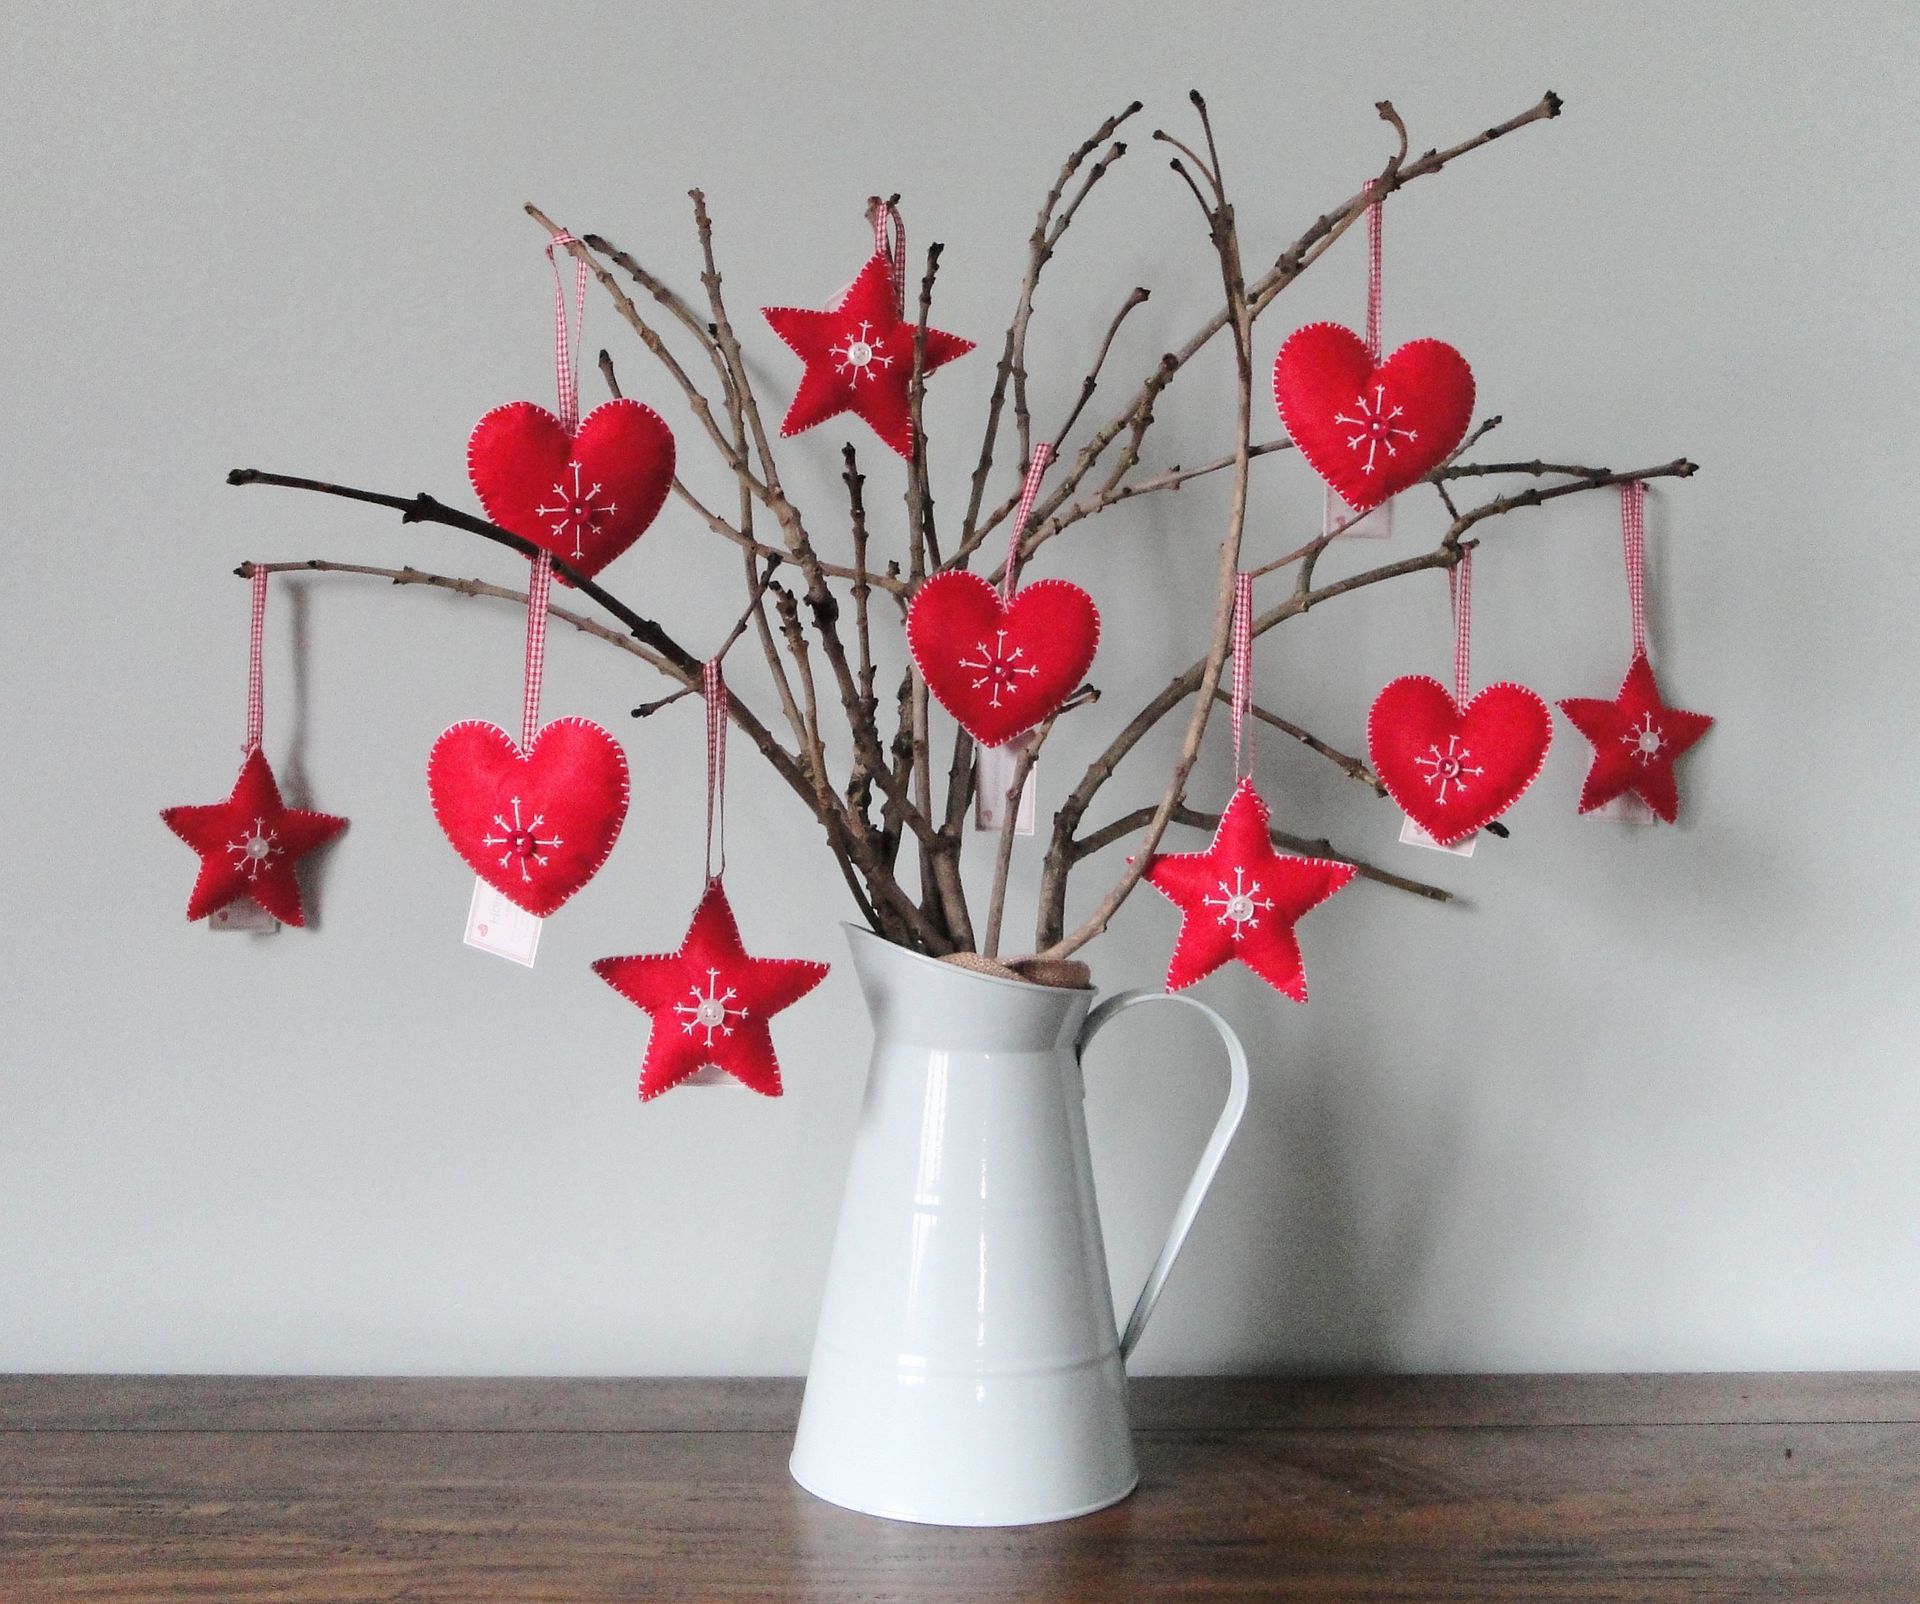
Lift Your Display
Note I said eye catching - not eye poking!! Make sure nothing is going to cause injury by sticking out too far on your stall!! I decided to use a lovely twig tree at my last fair (well it was a jug of branches collected on holiday in the Lake District!), but it quickly became apparent that placed wrongly on my stall it would be an eye poking accident waiting to happen! I loved the display though so I just made sure it was set up so as not to be dangerous! Whilst we are on the subject of hazards though.... don’t forget to organise your public liability insurance – just in case.
A popular option for creating height is to use boxes... maybe covered to match your stall, or hidden under the table cloth itself. I have used this option in the past and can vouch for it working well... so long as your boxes are sturdy enough to take the weight of your products! Of course you don't need to be limited to covering cardboard boxes... I've up-ended wicker storage boxes to great effect too! Be inventive with your display. I now have some bespoke folding shelves that I designed and made with the help of a friend which are perfect for displaying my cushions and framed pictures on a 6ft table.
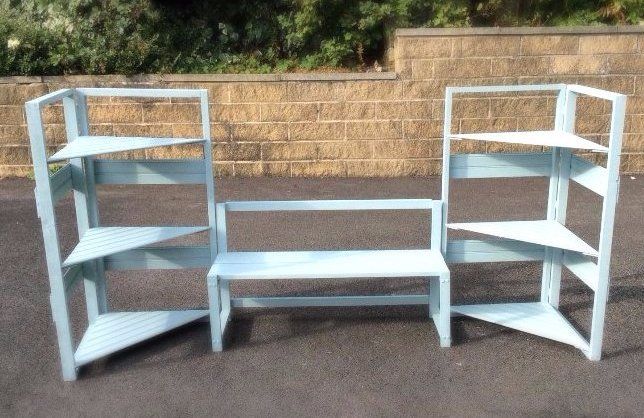
You may be able to do something similar but if not why not get inventive. In the past I’ve used shoe racks, planks of wood, old suitcases, garden trellis, garden furniture, cook book stands, wooden stools, ... it’s surprising what you can find at home or borrow from a friend that can serve you well with a little ingenuity! Just make sure whatever you use is secure. I swear by my clamps for keeping my shelving in place - and they double up brilliantly as a hook to hang my bags on.
Fair organisers normally require public liability insurance as you are liable if anyone is injured by your stall or products - so make sure you’re covered.
Promote Your Brand
Ok so the amazing happens someone buys something from your stall! Woohoo! Happy dance time!
Before you celebrate though you need to actually give the customer their purchase - and this is when you can fly or fall.....
A recycled carrier bag from the local supermarket may be functional to pop your product in, but it's not going to promote your brand and give your customer a warm happy feeling. Of course I’m not saying every item should get gift wrapped and put in a pretty box tied with ribbon, lovely though that sounds. You need a gift wrap solution that is economical (or all your profits will be swallowed) and also efficient, because hopefully you’ll have a queue of customers waiting to be served.
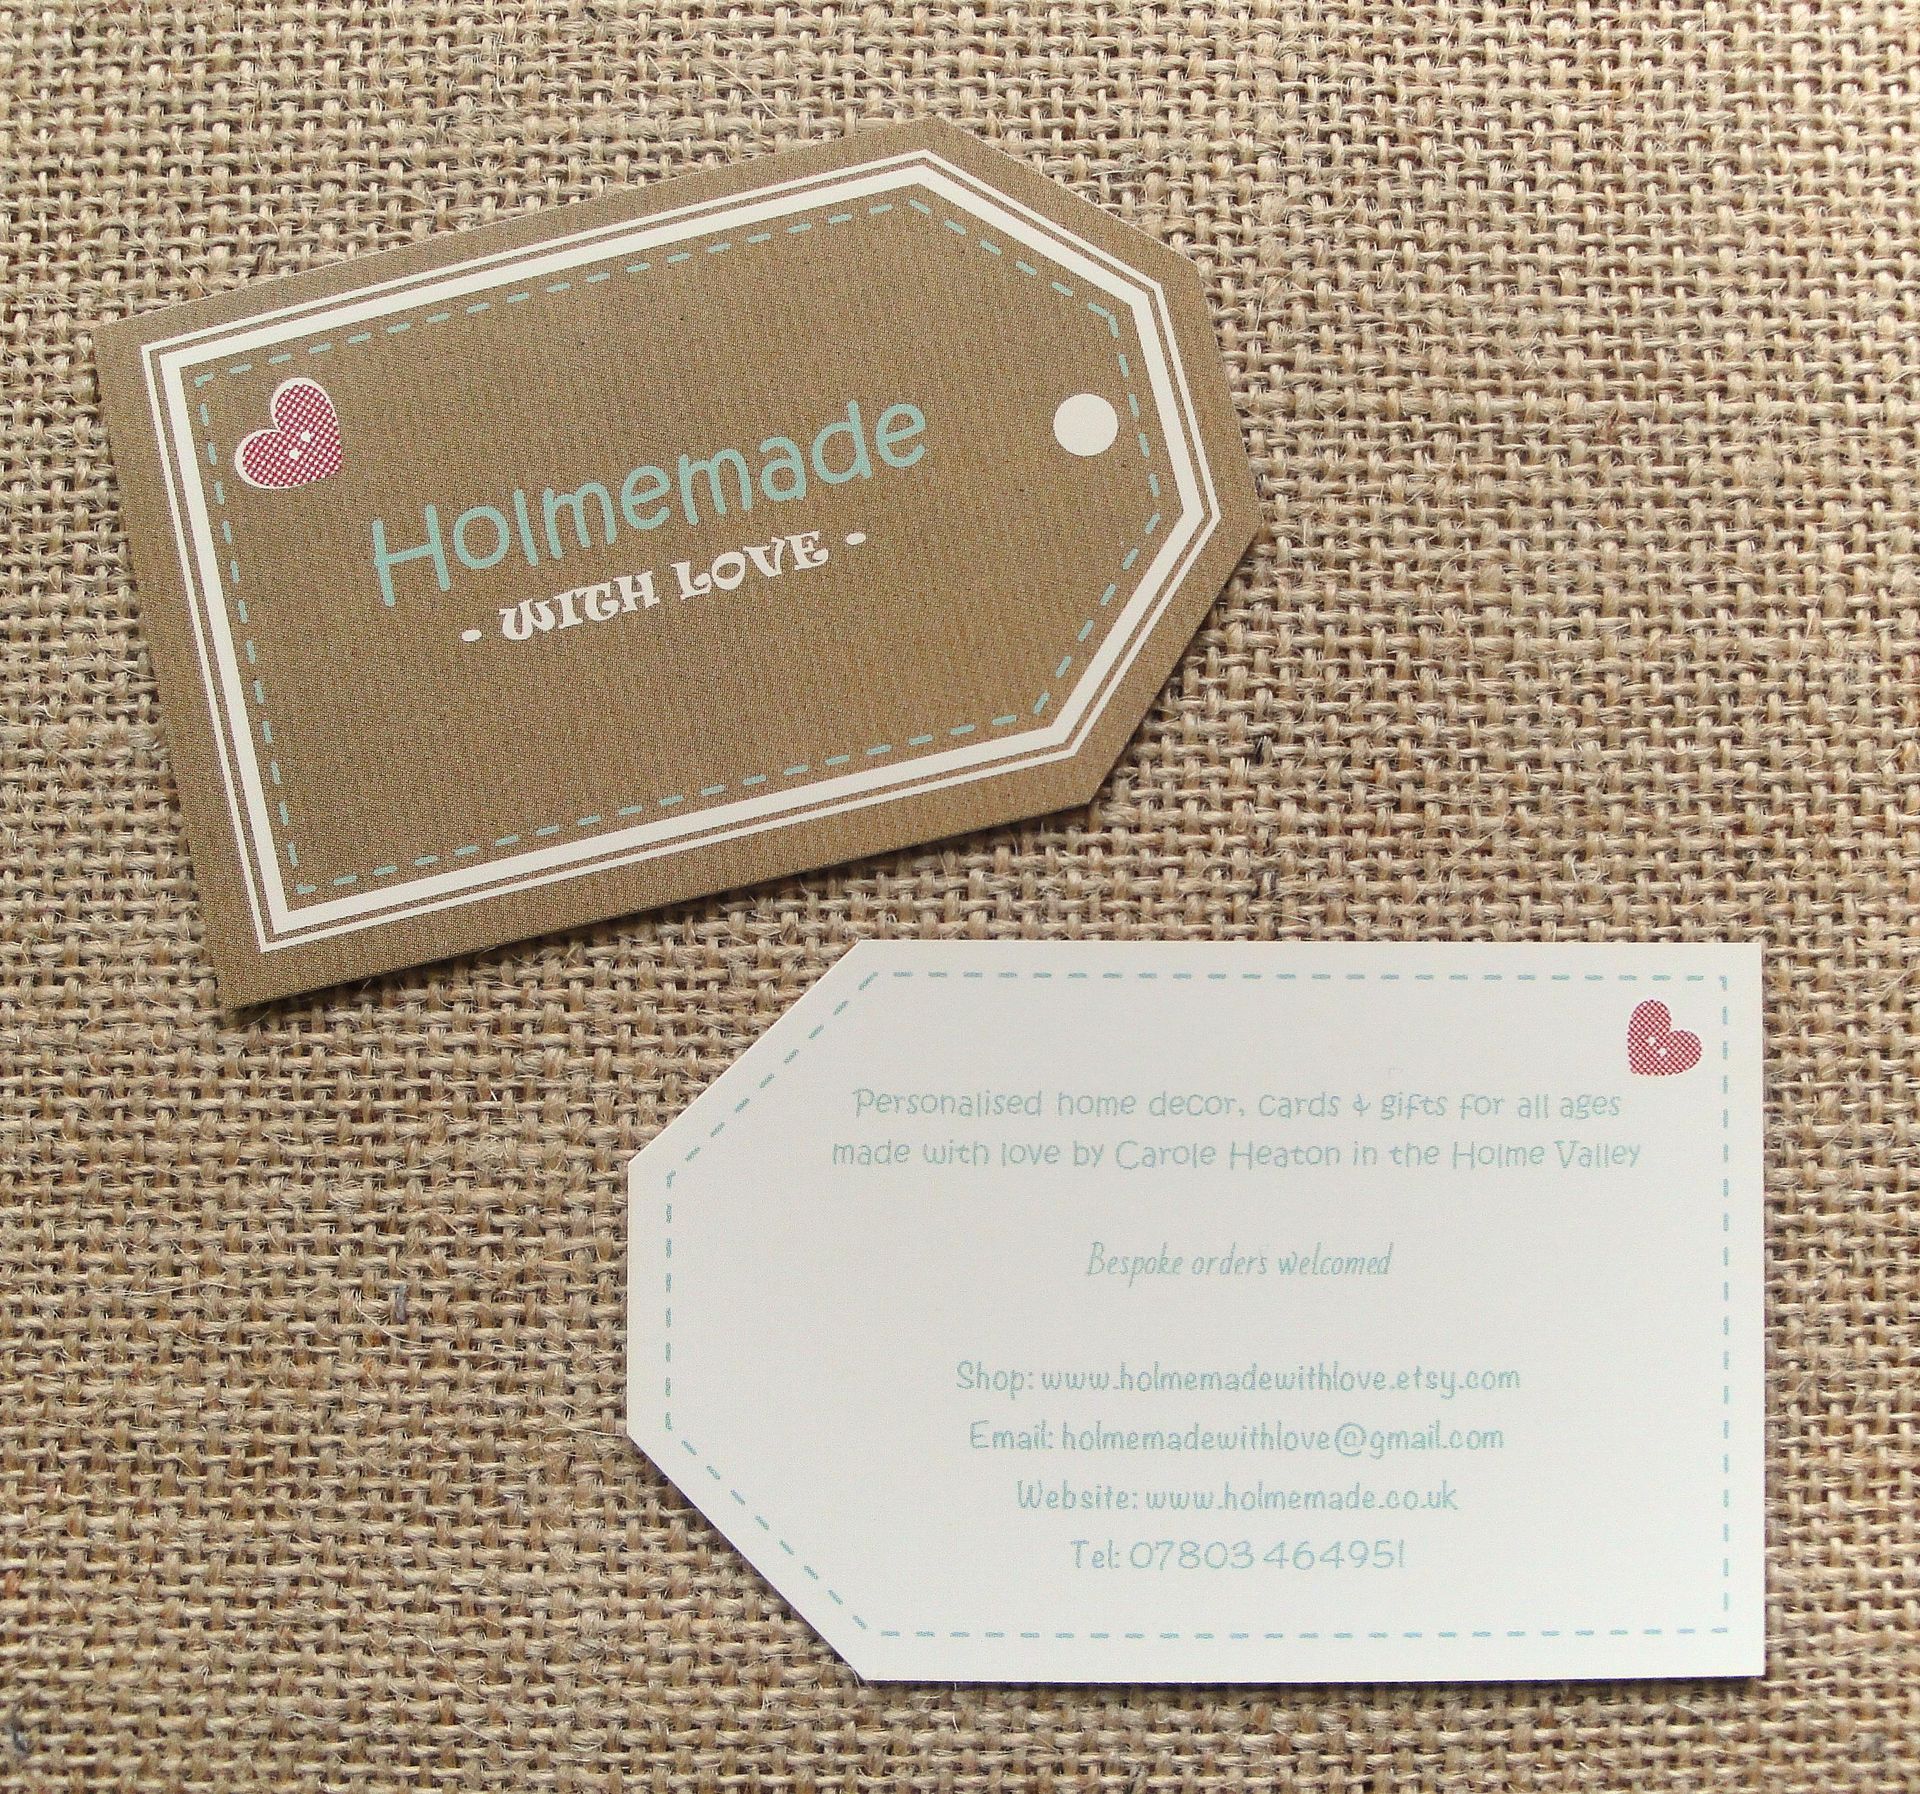
I would recommend investing in some paper bags with handles - in whatever size you need for your creations and consider choosing colours to suit your theme. You can stamp them with your logo, add branded stickers, or maybe tag them with your business card. Alternatively to promote your business you can pop a business card or flyer inside each bag to make sure your customers know how to get back in touch with you. Whatever you do... remember to promote your brand!! Part of the benefit of attending craft fairs is the opportunity to be seen, to get your name out there... I've had customers get in touch with me 6 months after a fair to order something!
Depending what you sell some items may need wrapping, rather than just popping in a bag. If so you need a wrapping station!! At my first fair I had planned to wrap my framed pictures in tissue paper and tie them with twine.... but I overlooked this point when thinking about my stall layout.... so all my wrapping was done on the floor - yes you read that right! FLOOR! My back ached, I couldn’t see my customers and I must have looked like a right numpty! Not quite the quality image I was aiming for! Lesson learnt! At my latest fair I had a small table at the side of my stall, complete with sheets of tissue paper, pre-cut lengths of twine, stickers and scissors.... much easier for wrapping my pictures.... and giving a great impression for my customers.
Oh did I mention business cards? – I remember designing mine and getting them in time for my first fair.... it was so exciting! I figured even if people didn’t buy something they may take a card. Whether you opt for cards or flyers or leaflets I would recommend you take something that you can hand out to customers and potential customers who may decide to buy a month or two down the line.
And don’t forget stall signage - you want people to remember your business name when they walk away. I'd suggest you choose a sign style that fits your brand! Mine is hessian bunting, a friend of mine has a stencilled sign on a painted board - choose what works for you.
Know Your Worth
A difficult question for many creatives is what to charge for our makes. PleaseDON'T undervalue your work! Price it at what it’s worth!! If you make tat then fine - sell it cheap, but I’m assuming that you, like me, pride yourself on making beautiful quality handmade items to delight your customers. You have no doubt spent years perfecting your craft and take care and time developing your ideas to ensure you put your best work forward. In which case be proud of what you do and price your creations accordingly, to reflect the materials and time that have gone into them. Undercharging for your work undermines every other creative who is trying to make a living from their craft. But do make sure the craft fairs you attend are right for you.... otherwise everyone will be a loser!
Also, make sure your prices are clear for customers... many people won't like to ask so may walk away from something they love because they don't know the cost. Some sellers opt for a pretty price list, I prefer price signs next to my different items, you may prefer to price each item individually. There is no right or wrong answer, so long as your prices are easily visible and easily understood.
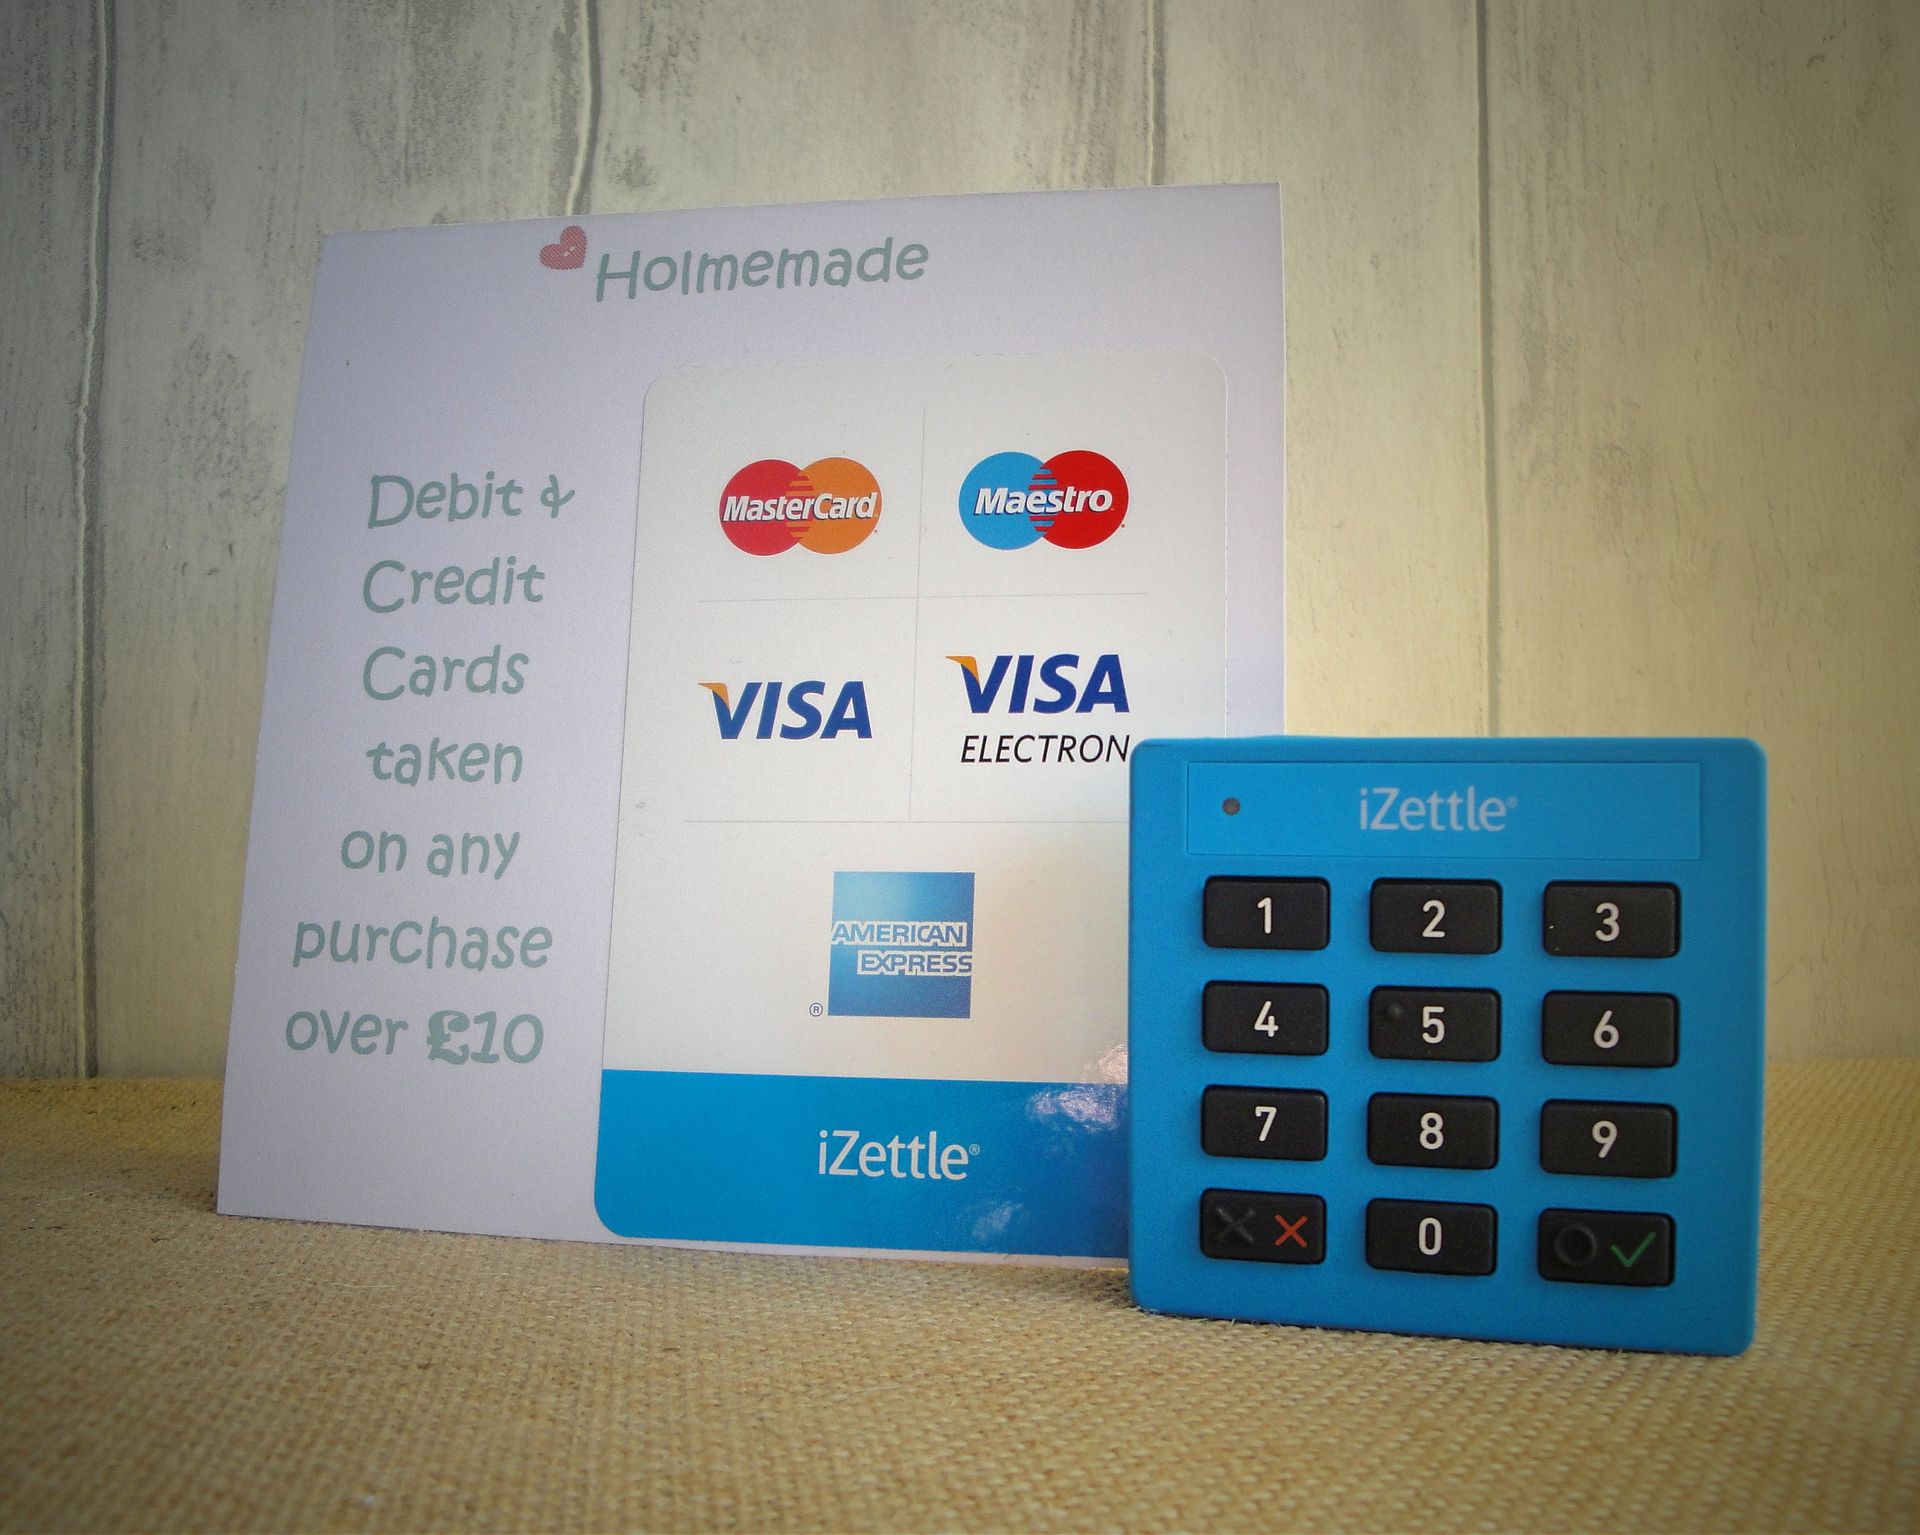
What about taking payments? This should be an easy one - for your customers as well as for you. Keep prices simple - no one falls for that "£5.99 is cheaper than £6" nonsense and who wants to faff about with 1p change? so price in round numbers. All my prices are in units of at least 25p... most are rounded to the nearest 50p. Make sure you take a decent float... you don't want to lose a sale because you can't give the right change for a £20. I use a money belt with lots of sections to make finding change easy. It means if I need to leave my stall my float is secure... but a locked cash tin could work well too. I also use an i-zettle - a wonderful card reader for taking card payments - if you have a reader make sure you advertise it on your stall - some customers are shy remember! Also make sure you know how it works in advance so you aren't messing about on the day. It looks unprofessional and could lose you a sale. Oh and check the signal at the venue - they may have Wi-Fi or a good phone signal but if not you need a backup plan.... and if your reader needs your phone.... make sure its fully charged!
Holmemade Musings