How To Survive & Thrive At Your First Craft Fair - Part 1
- by Carole Heaton
- •
- 27 Apr, 2017
- •
I wonder if our potential customers realise all the work that goes on behind the scenes preparing for a fair - or whether they think we just pop a few things in the car and turn up... if only they knew the truth.... so if you're reading this as a visitor of craft fairs.... do keep reading. I hope you'll find it interesting!
When I did my first craft fair it was a baptism of fire - I organised the event and launched my handmade business all in one go! As a result I was desperate to gain as much insight into craft fair success as possible - I read every blog and studied every image on Pinterest that I could find that claimed to hold the secret of successfully organising or attending an event. I looked at established craft fair websites to learn how they attracted and selected quality stallholders and then modelled my own event and website accordingly, despite it being a small affair, nestled in a gorgeous little village in West Yorkshire, UK.
How did it go? Well I guess I wouldn't be writing this blog if it was a flop, I'd be off licking my wounds somewhere instead!Of course I made mistakes and there were things I would have done differently with hindsight, but overall the fair was a great success, far better than I could have hoped for. We had high footfall, a beautiful venue and a host of happy visitors and stall holders. I loved having my own stall and meeting customers who wanted to buy my creations. I also found that I loved meeting other stall holders, networking and sharing ideas with fellow creatives. Needless to say, after just one fair I was hooked!
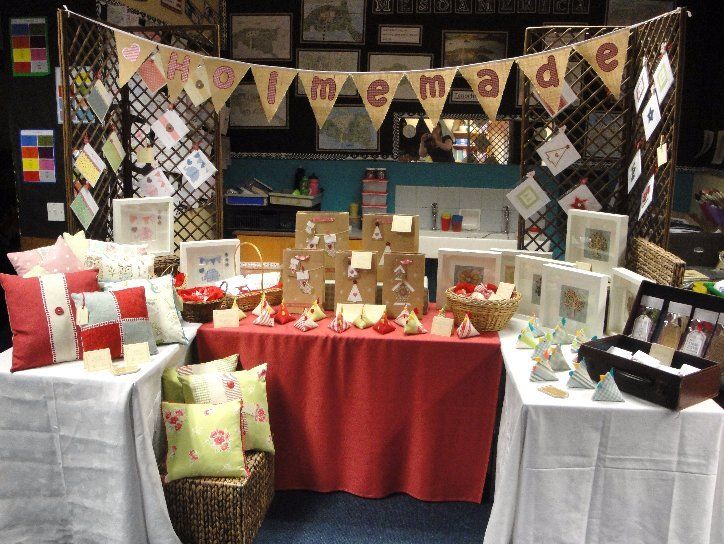
On the back of the event I launched my Etsy shop, Holmemade With Love, which I'm really enjoying developing and I have subsequently extended my circle of creative entrepeneurial friends considerably. Sharing ideas, issues and challenges with like minded folk who are also pursuing their dream is a great support.
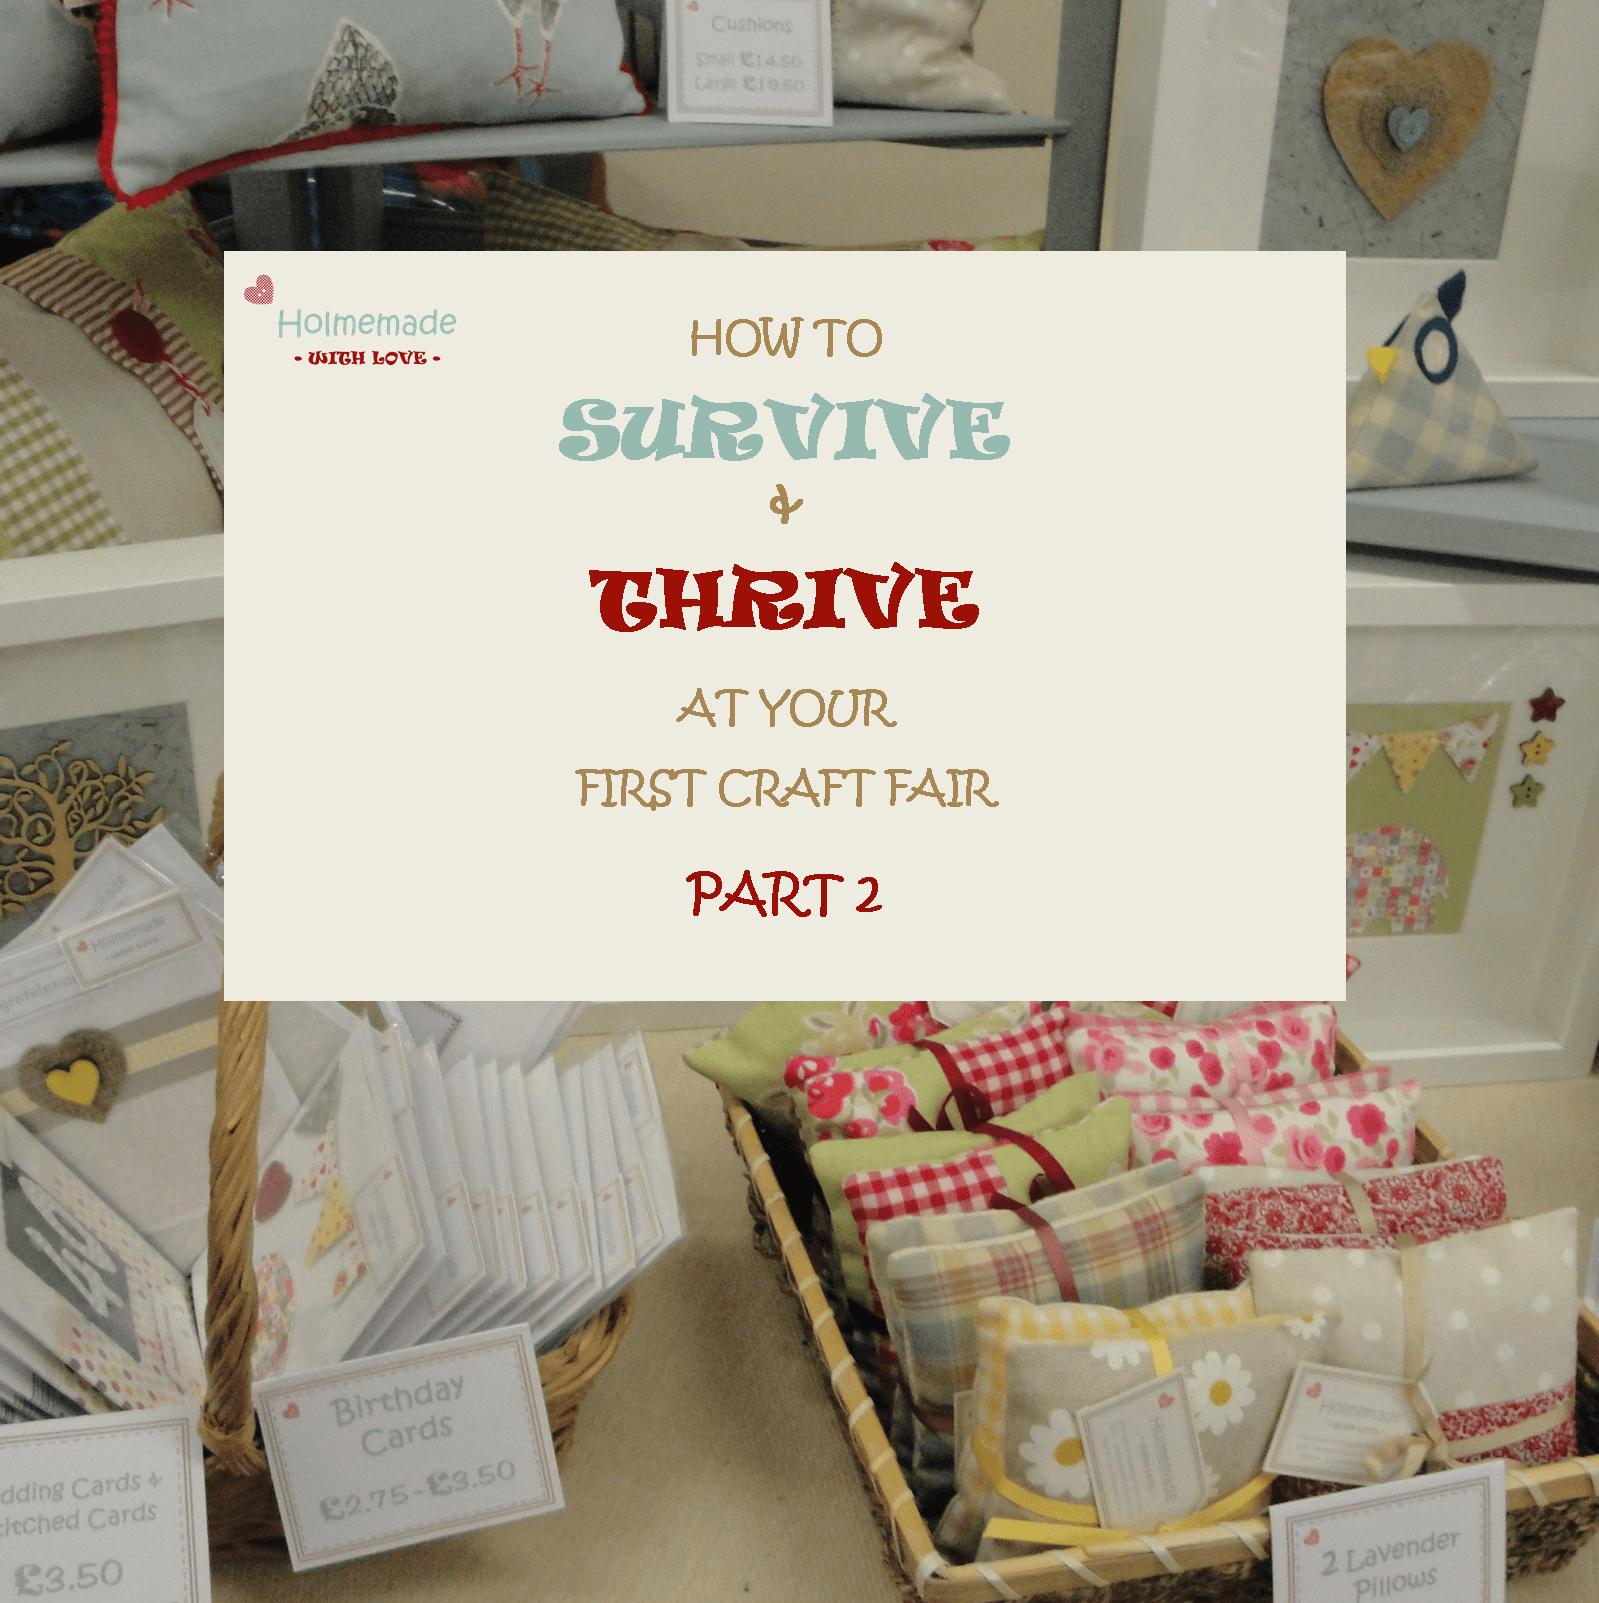
There are lots of posts on the web about craft stall designand I've probably read most of them.... but there are far fewer about general preparation setup. I can’t promise to offer anything new.... but for what it's worth..... this blog post is my two penneth. I've tried to cover everything I wish I knew, before my first fair! I've split the article into two parts.... to make it easier to read & digest over a cuppa. I hope you find it useful!
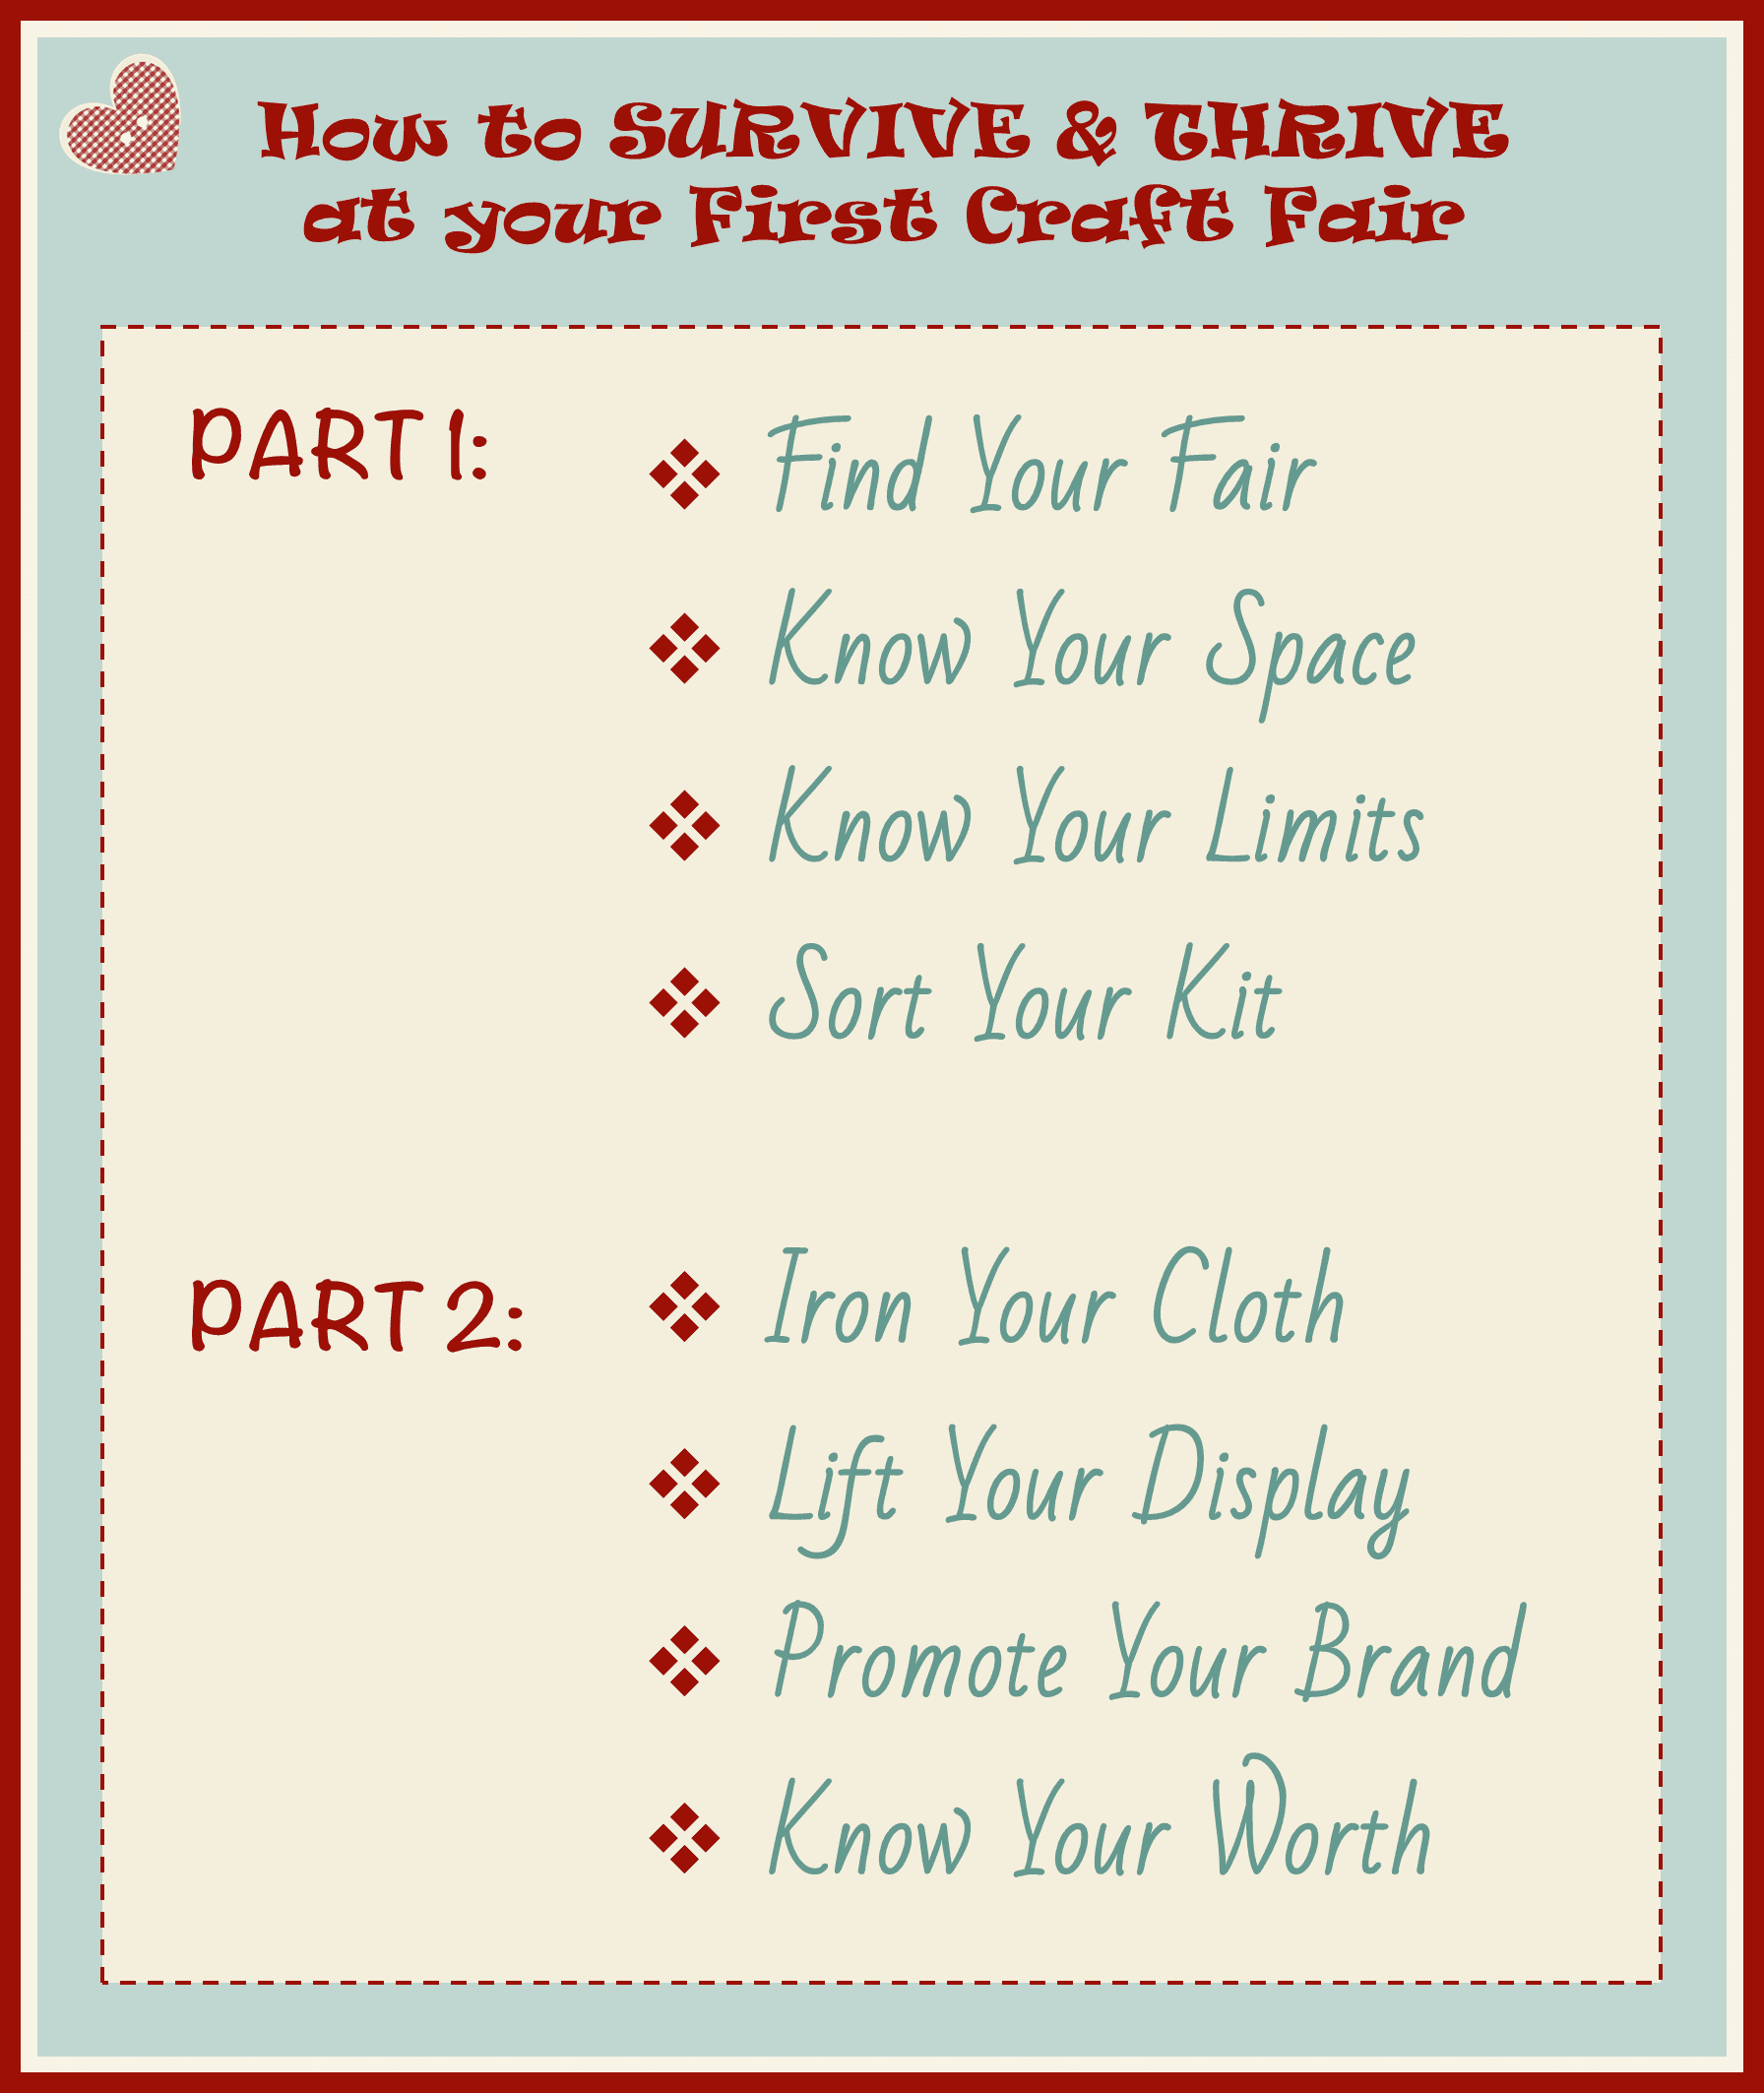
Part 1 - How to Survive Your First Craft Fair
Find Your Fair
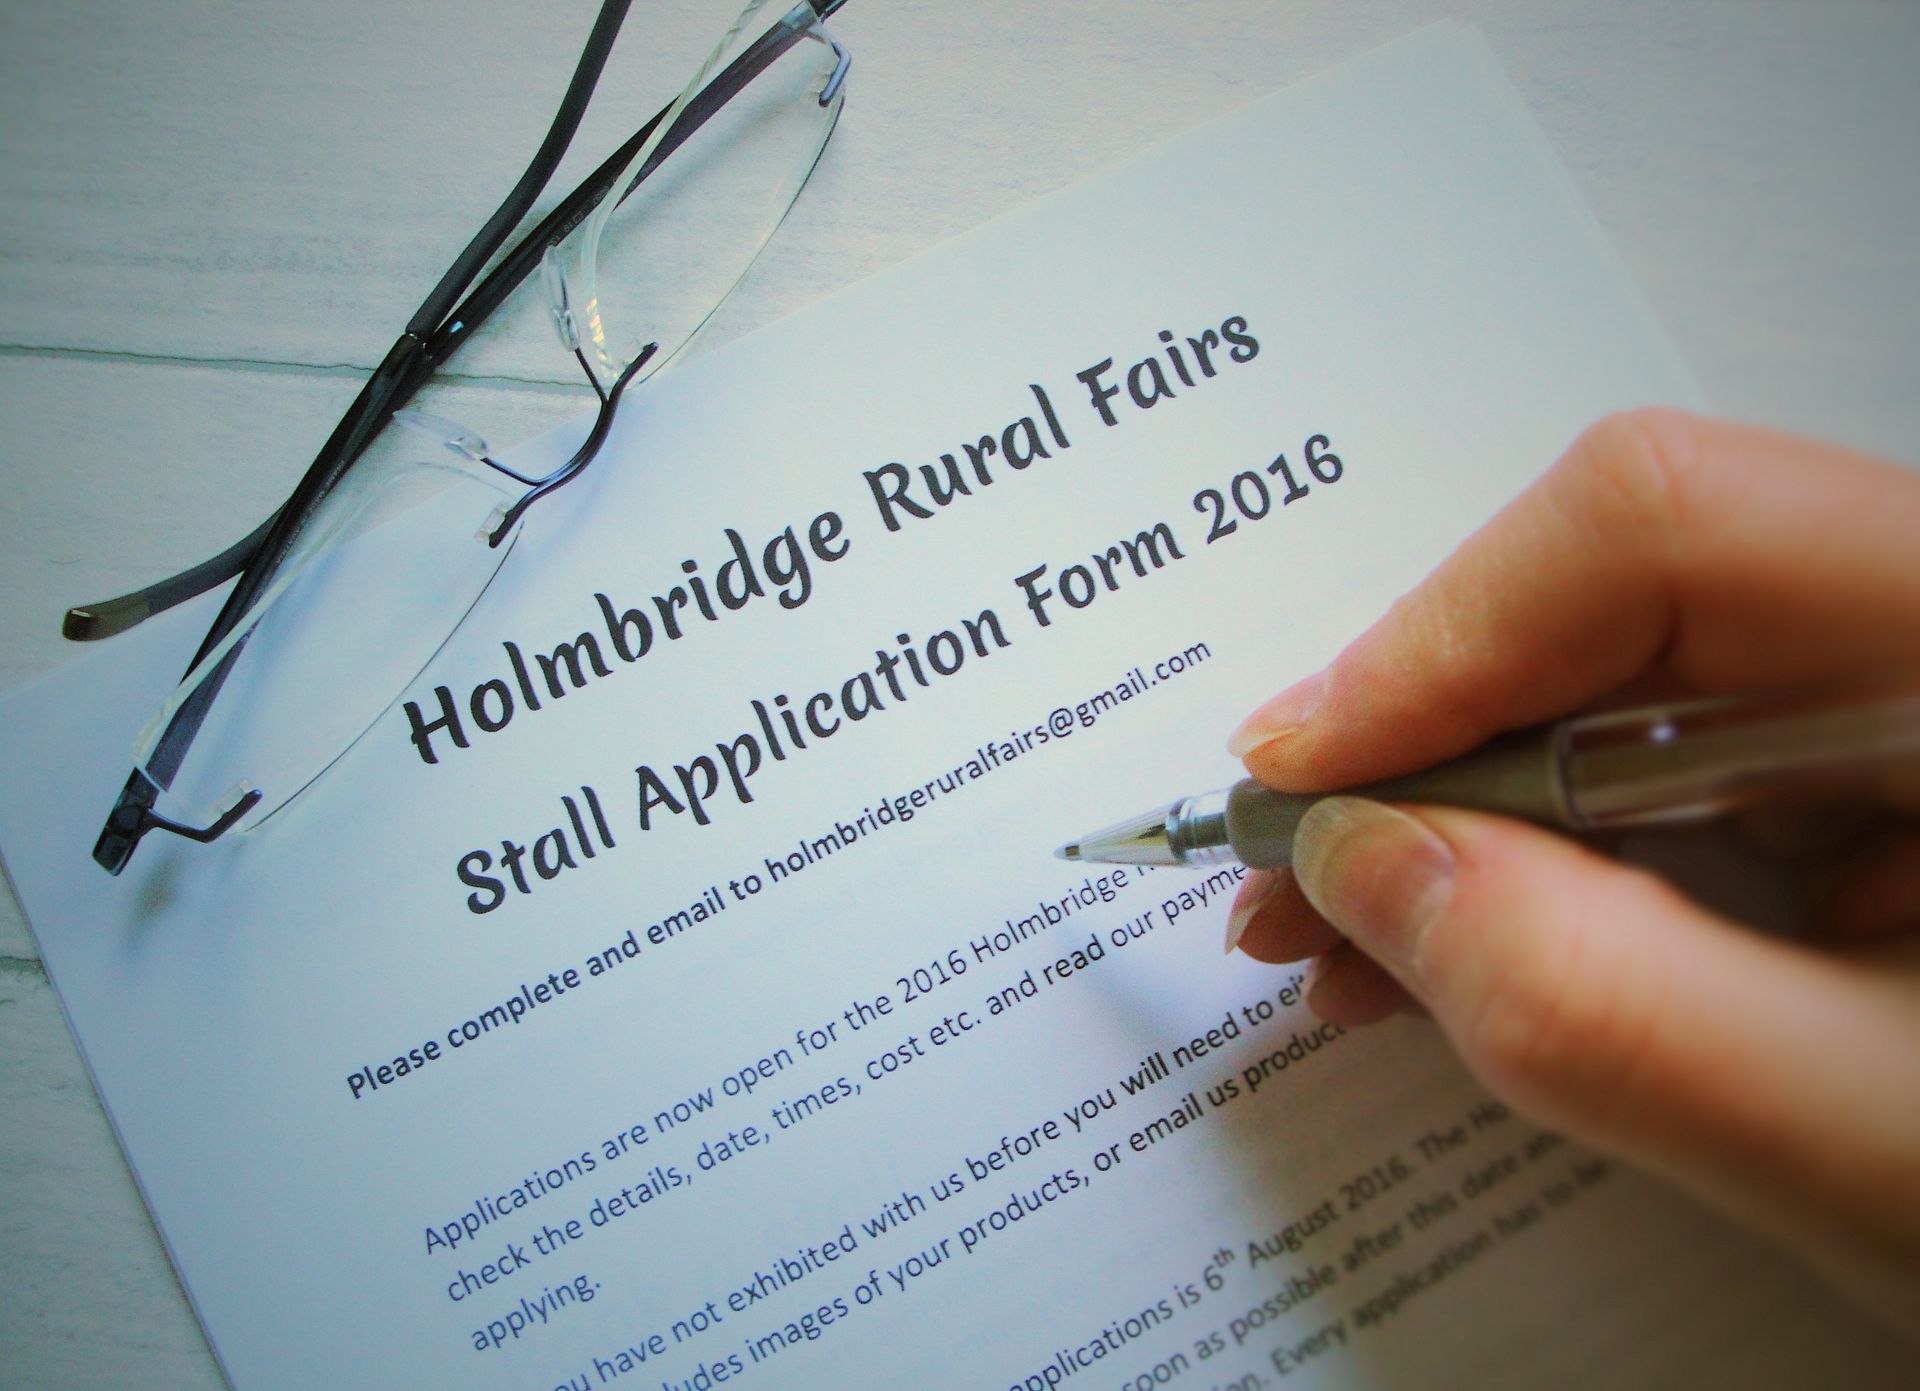
Having found your fair you will need to apply to get booked on. Good fairs can get booked up quickly, and many have a screening process... so start looking well in advance of the dates you want and be prepared to send in great photos or links to your selling platform (your facebook page, website, Etsy shop, Folksy shop etc) to give the organisers confidence in giving you a stall. Don't look at this selection stage as hassle.... if organisers will let anyone book a stall the chances are the quality of stallholders will be very varied at best. You may find you are trying to sell your beautiful handmade goods in competition with someone who imports everything at a fraction of your costs. Clearly you have different target customers... and there may be room for both types of sellers at one event.... but its not usually ideal. Organisers that are more selective and have clear criteria for their stallholders are more likely to run quality events that promote handmade goods.
Again obvious... but if you send in an application and don't hear back then do chase it up.... don't assume you either have or haven't been successful. I have known crafters who heard nothing back, assumed they had not been accepted and then received an email just a few days before the fair asking for payment and providing details for the day!
Know Your Space
I closely avoided a calamity at my second fair.... I was expecting a 6ft x 2ft table at a school fair... I should have realised school tables are rarely that size! On arrival I was offered three small tables for my stall.... none of which would fit my 6ft wide banner. Thankfully I had a couple of table cloths and a runner in my stash and managed to jiggle the tables and my display around to work quite well, but doing my homework in advance would have saved an unnecessary headache on the day!
Fair organisers worth their salt that organise larger events should tell you the size of your stall and any restrictions before hand but if they don’t... or if you're attending a low key event with no official organisers – ASK.
Know Your Limits
I see this question a lot: How much stock should I take to a fair? How much
will I need to make?
Erm hello! How can anyone answer that? There are too many variables!
- Footfall - how busy will it be?
- Price - how much is your average price point?
- Stall size - what will fit in the space?
- Time - how long have you got to make your stock?
- Transport - how are you going to get it to the venue?
My rule of thumb is to make enough products to make your display look gorgeous. Note, that does not mean cluttered!! Then make more so that you can keep
some stock underneath your stall.... that doesn’t mean you should have enough to keep restocking all day - but
you don’t want a half empty stall after an hour!
But if time is limited, don’t wear yourself out making so much stock that you oversleep on the day of
the fair - a few less products and a bright-eyed stall holder with a smart
looking stall is definitely more important!
Oh and don’t make more goodies than you can actually get to the venue! I use large
wheeled suitcases for my non-breakable stock - they’re great for keeping things
dry and protecting my back as I wheel them from the car to my stall. Other items
I tend to box up and carry - but I try and keep that to a minimum (with limited success!). Everything, including my display shelves needs to fit in my car. If you’re
using public transport - Good luck!!
Finally... my major fail.... make a stock list of everything you are taking so afterwards you can do a stock check and see what sold - which should tally with your cash/card payments. Better yet, record every sale as you make it, then your stock check is just confirming what you already know. I inevitably forget to make a stock list in advance, and if I get busy my sales recording goes a bit to pot too, so then I am desperately trying to recall how many lavender sachets I made, or how many snow scene Christmas cards I took with me!

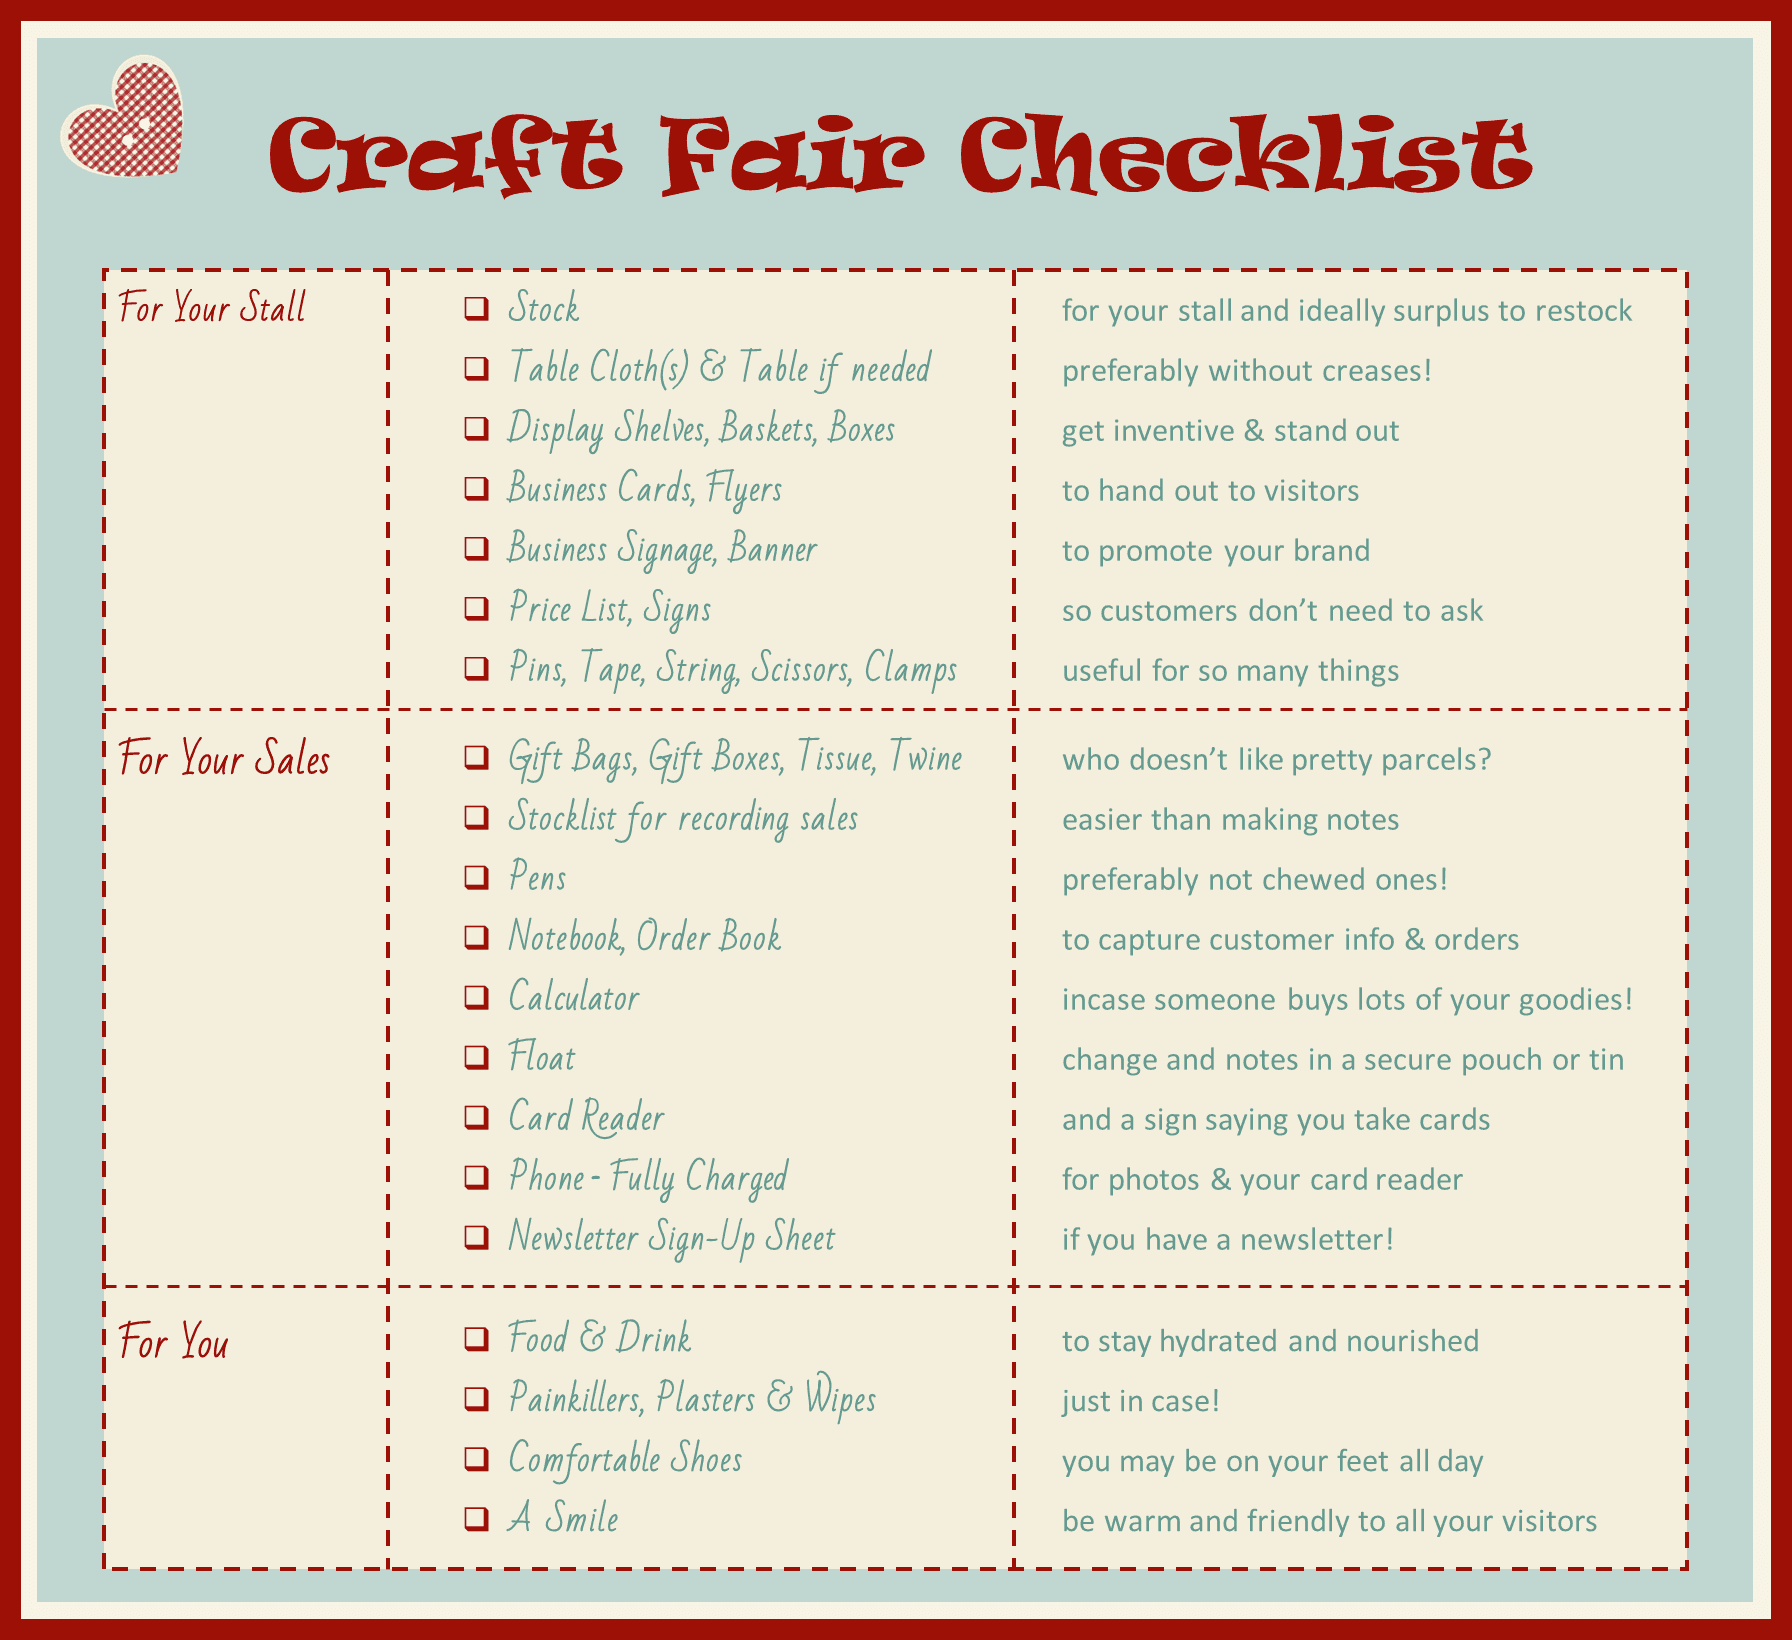
Sort Your Kit
- Panic and waste your set up time stressing over something you can't change
- Give up and go home
- Try a mad dash back home to get what you've forgotten
- Get creative and make do with what you've got
I've considered most of these... but in the end only option 4 makes sense!
But....being prepared and sorting out your craft fair kit in advance will significantly reduce the risk of you forgetting anything important, so I hope this handy checklist helps.
I've listed food and drink because although it's great to support the event you may not get chance to pop across to the café or food stall, assuming there is one and in any case you may find prices are high and you spend half your profits on your lunch!
Holmemade Musings